If you can imagine it, you can create it!
• Enhance Your Photos
• Create Original Photo Art
....Compositions
• Add Pizzazz to Design Layouts
Now you can add unique elements to enhance your photos, wholly create stunning photo art, and/or optimize your designs by including silhouetted and clipped high-resolution (300 DPI) images from this immense gallery of Photo ImageClips.
NOT AVAILABLE ANYWHERE ELSE ON THE PLANET!
VALUE: $389 | NOW JUST $49!

1. ENHANCE YOUR PHOTOS
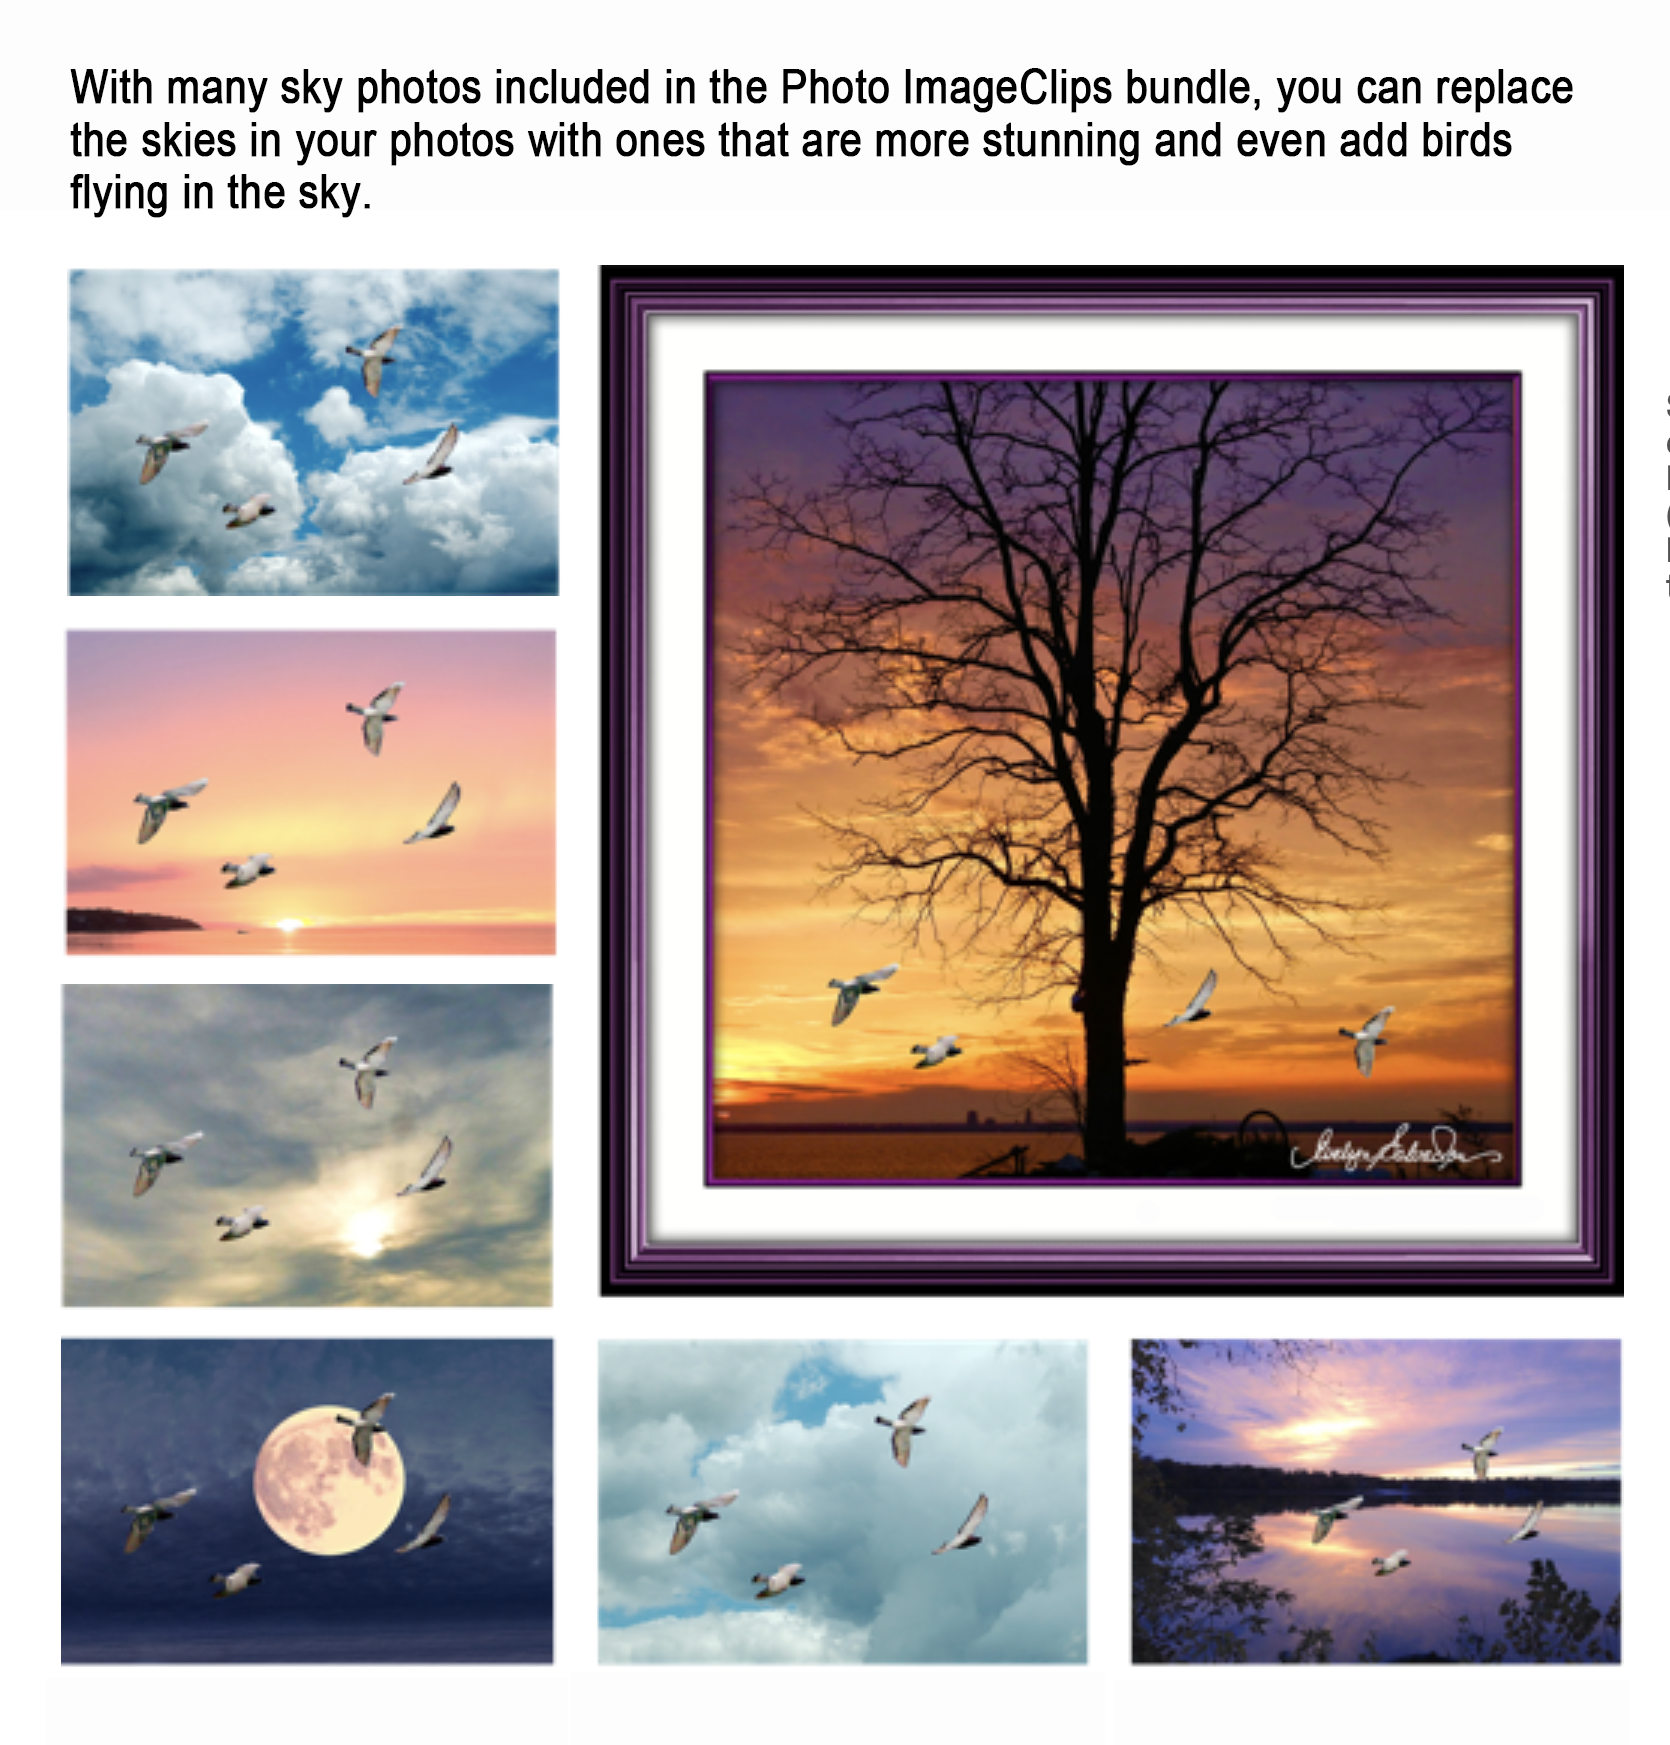
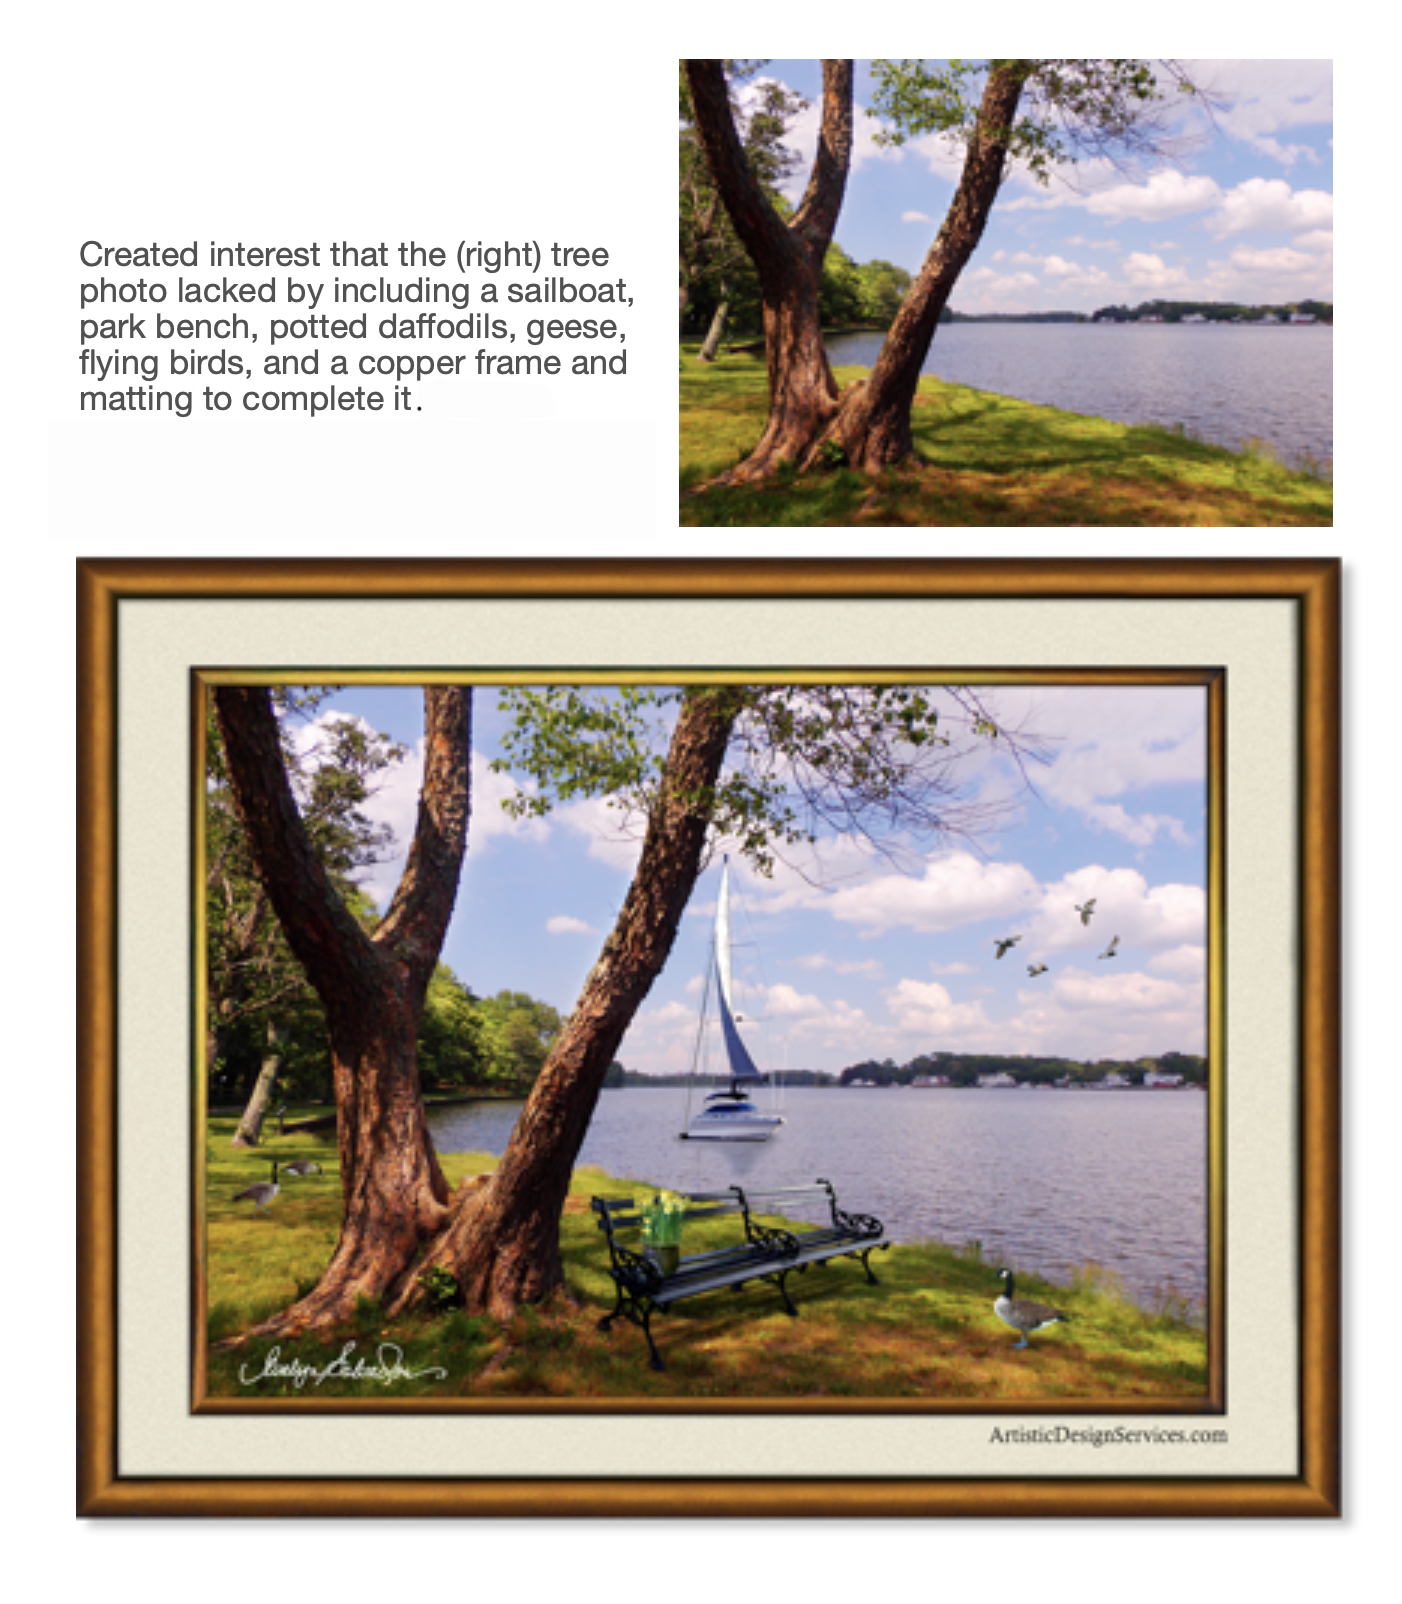
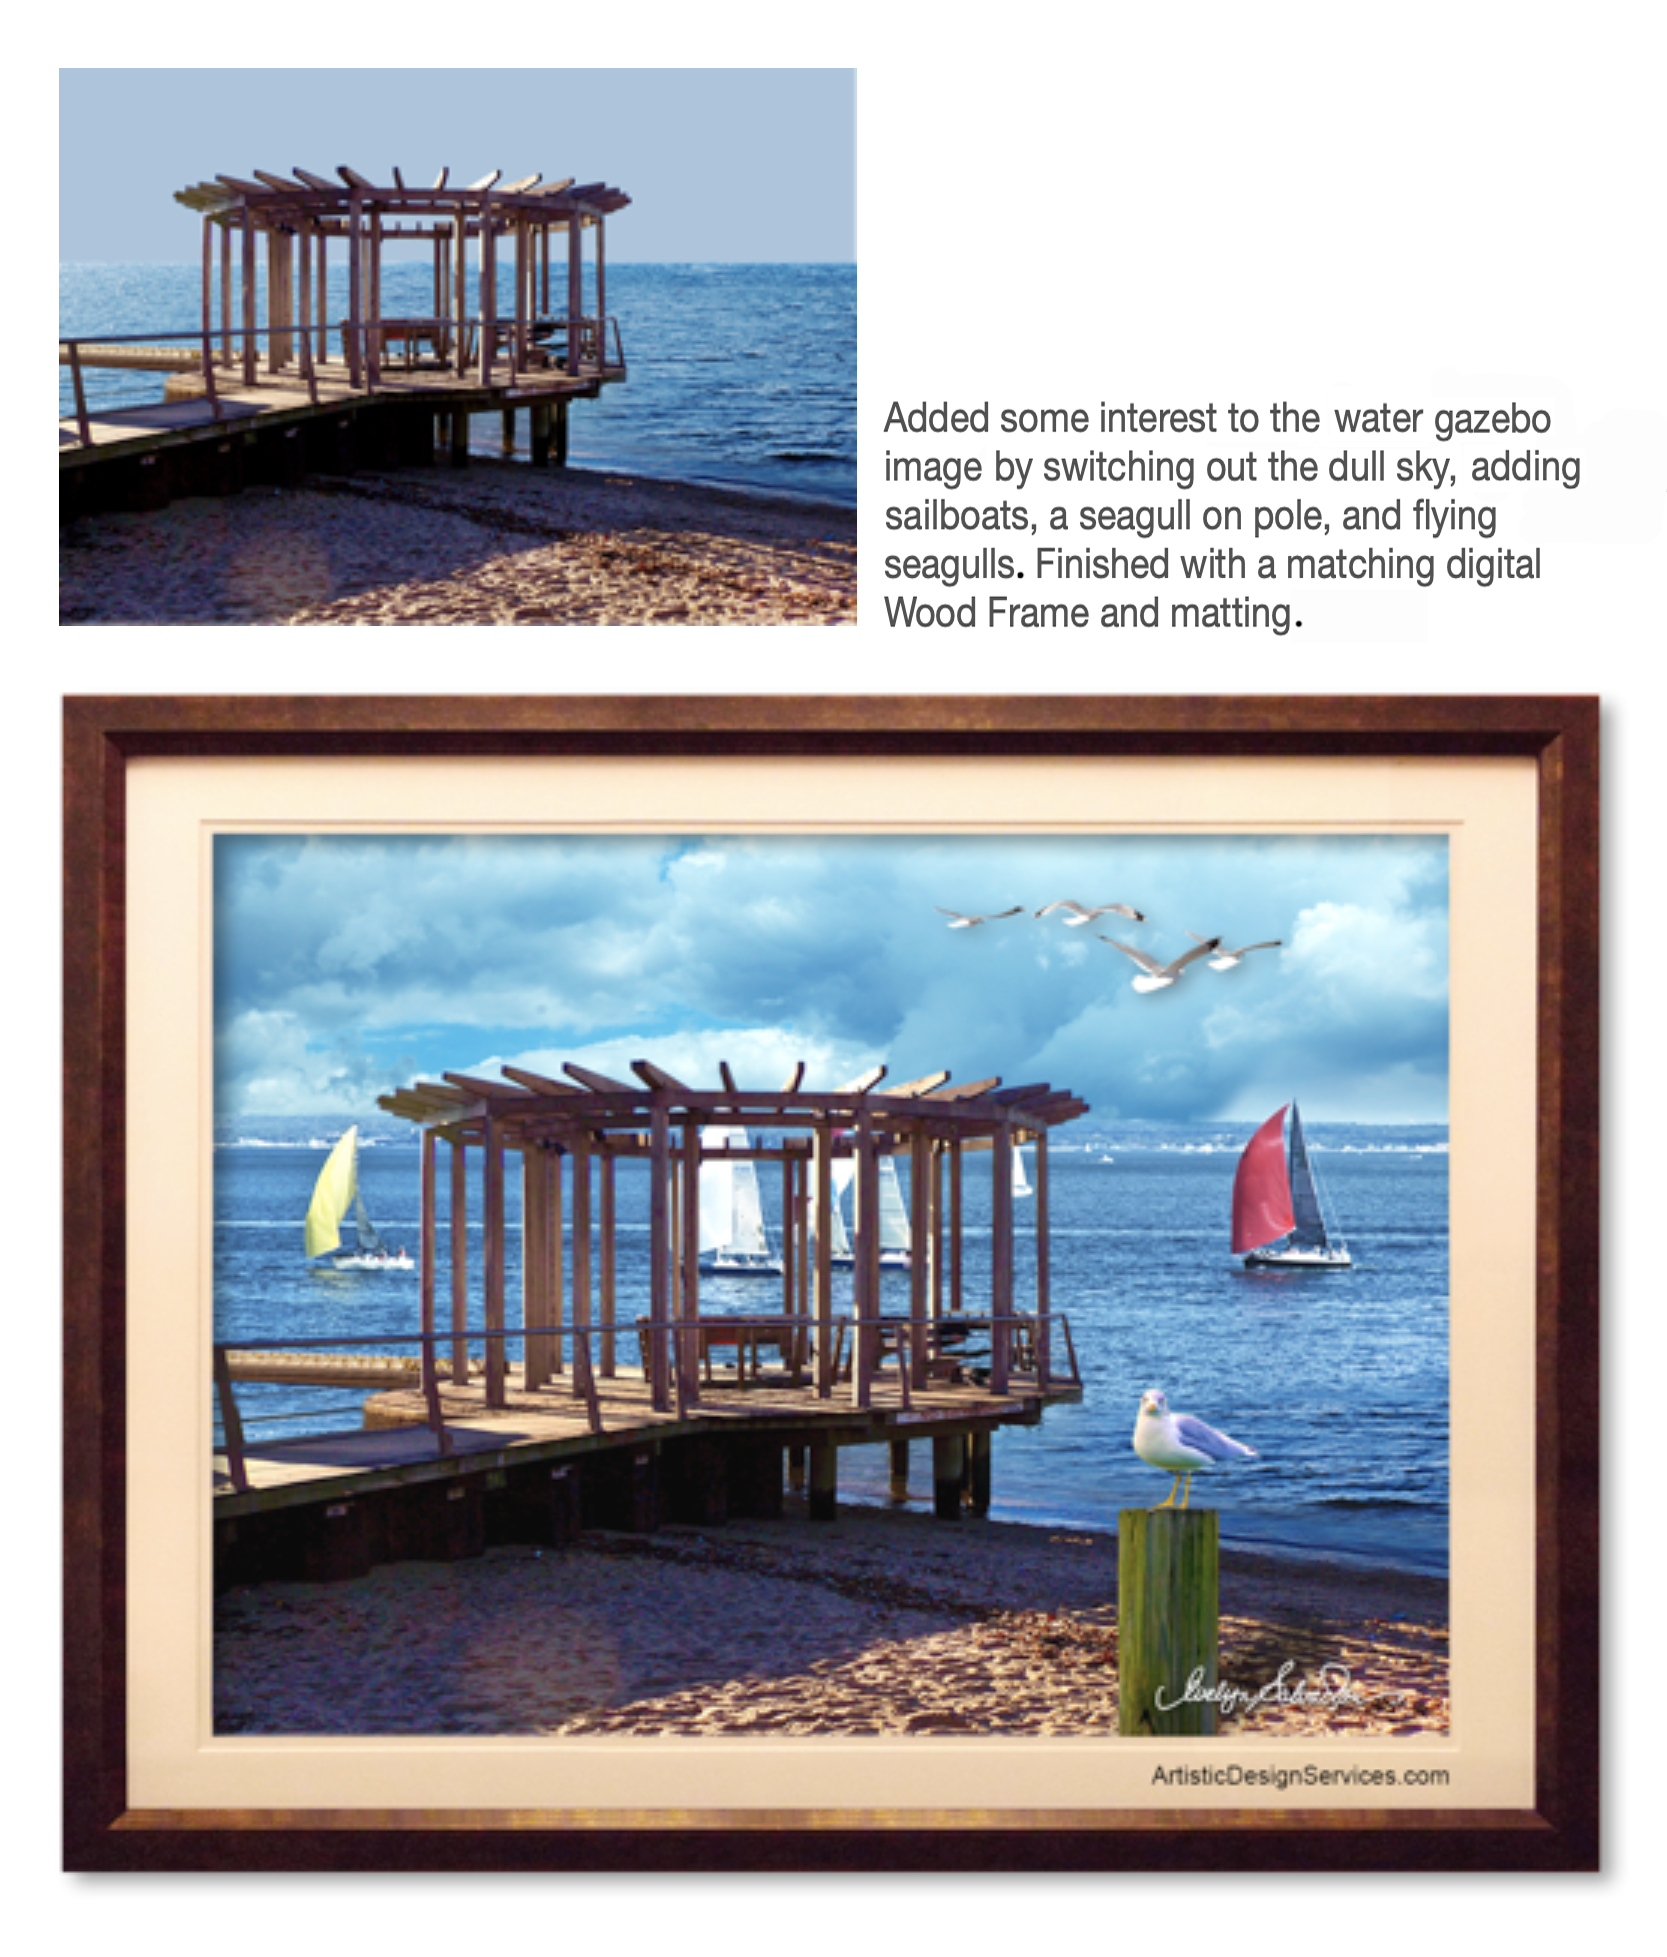
Didn't catch that bird or butterfly in your photo? Was the sky dull with no clouds? Was the ocean captivating but wish it had boats? Now you can add those certain images to your captures.
2. CREATE ORIGINAL PHOTO ART COMPOSITIONS
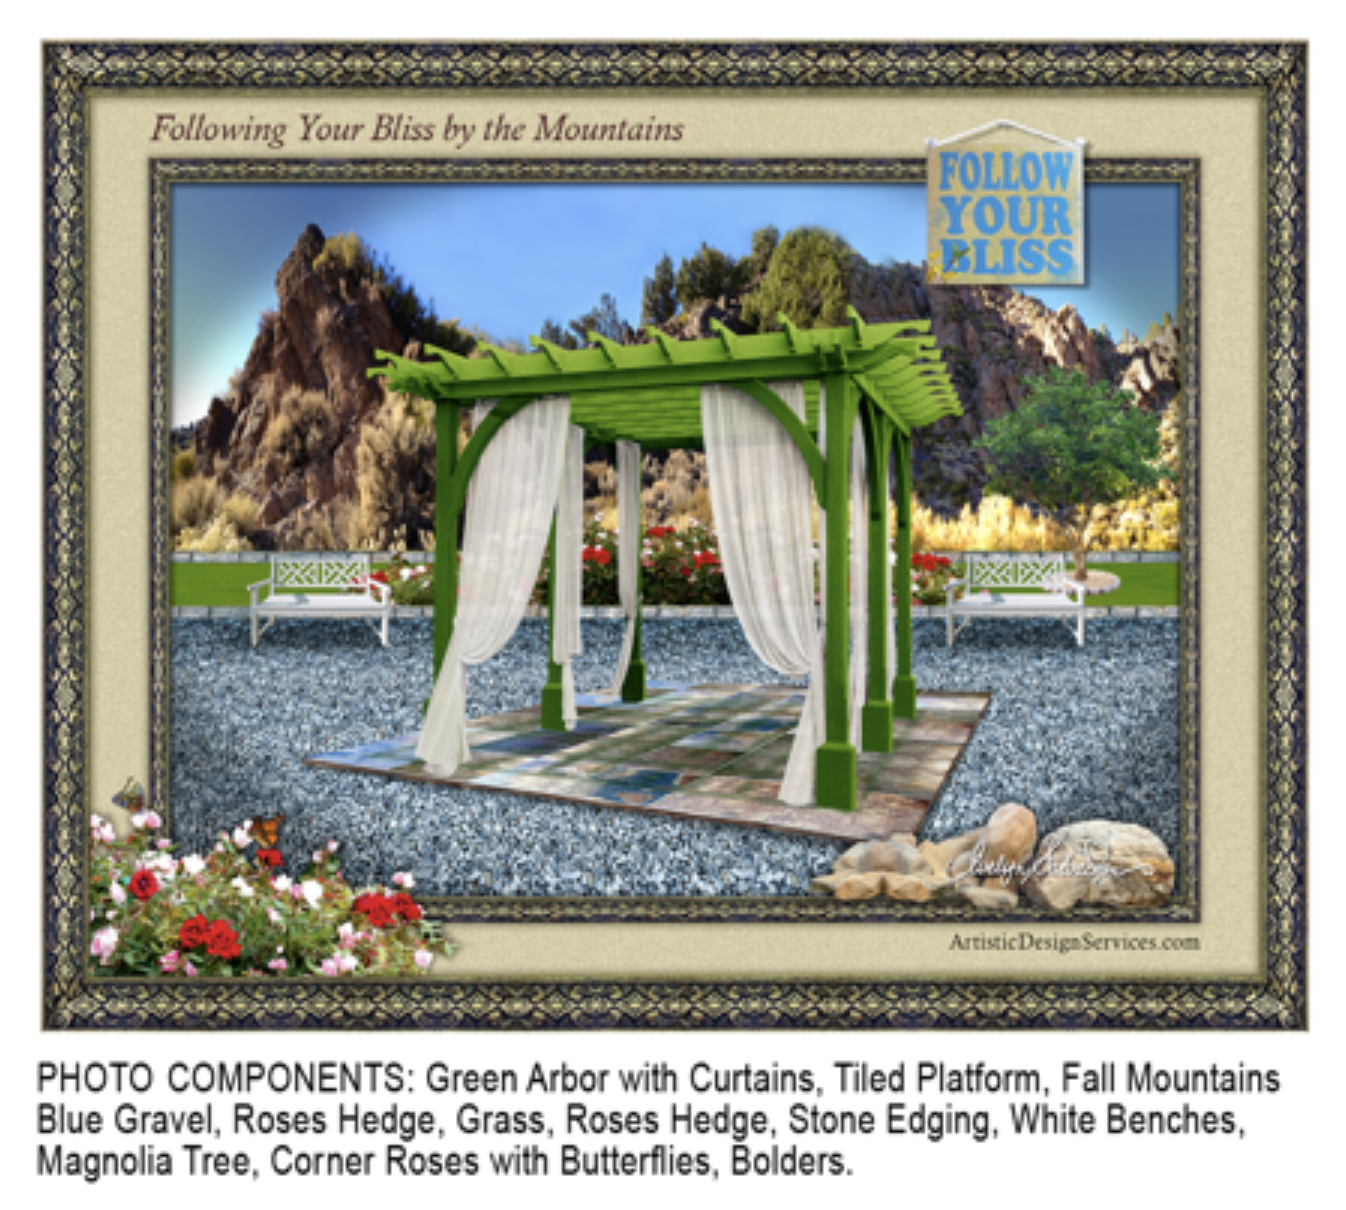
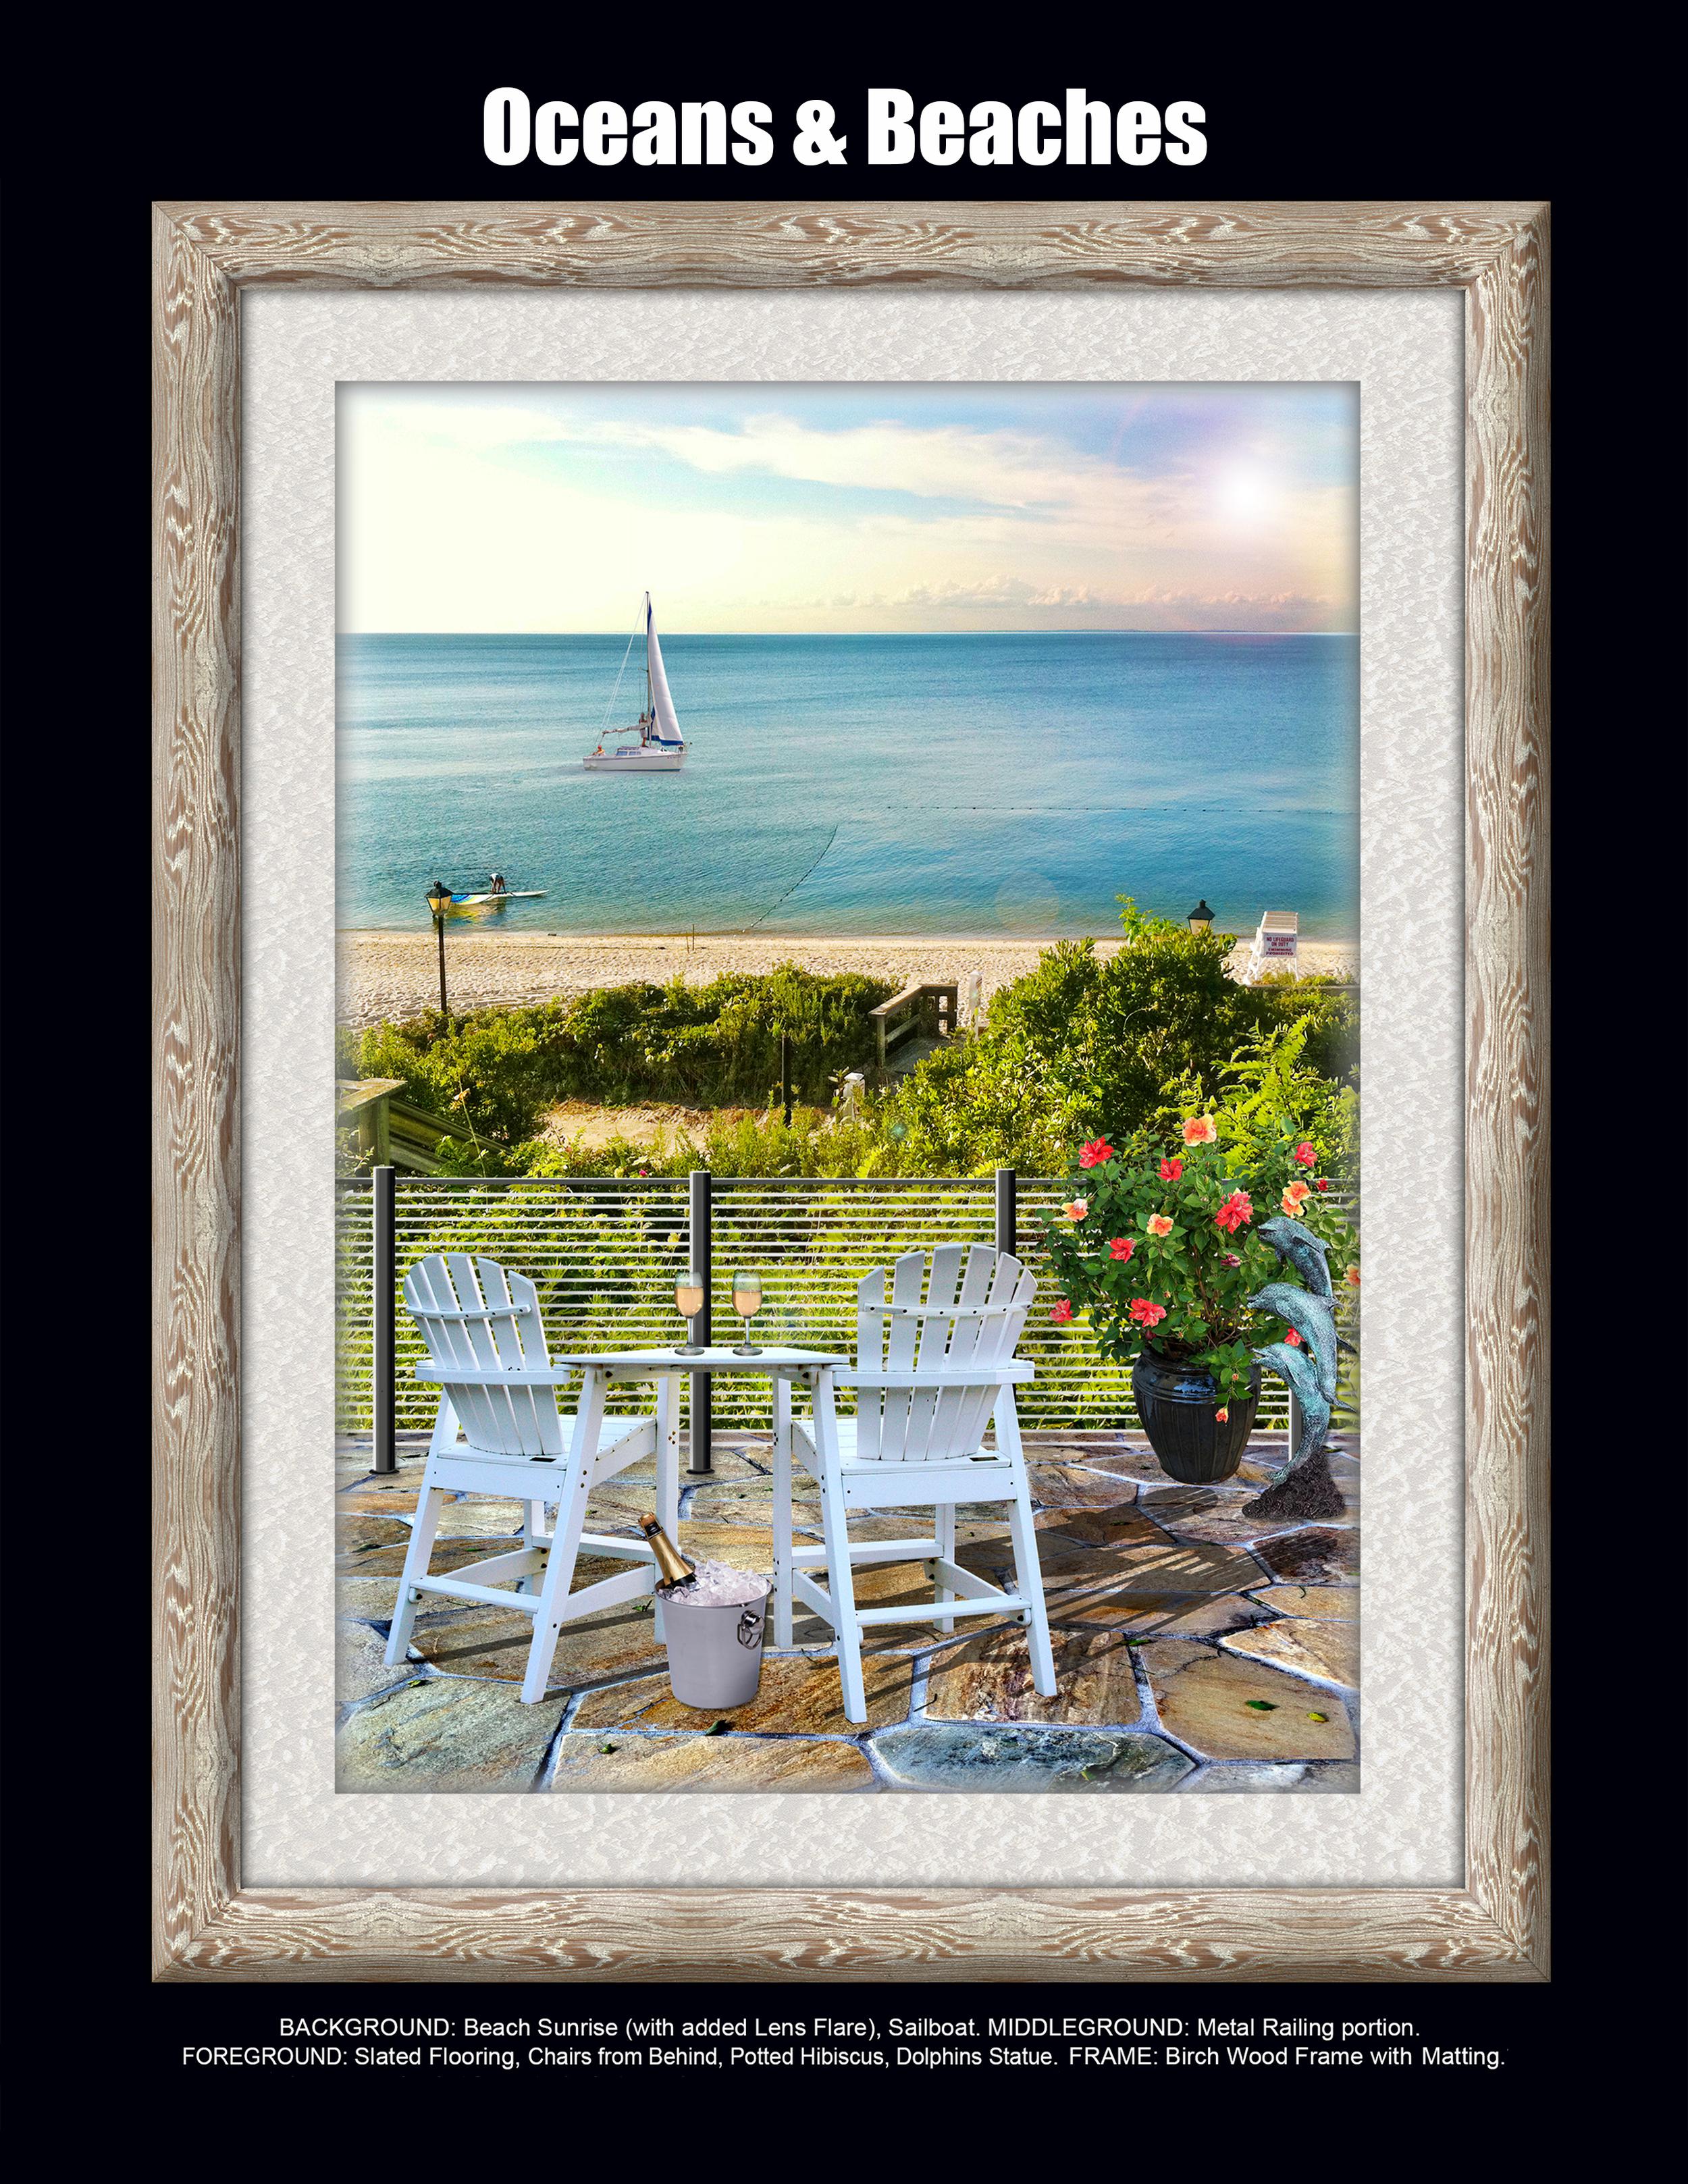
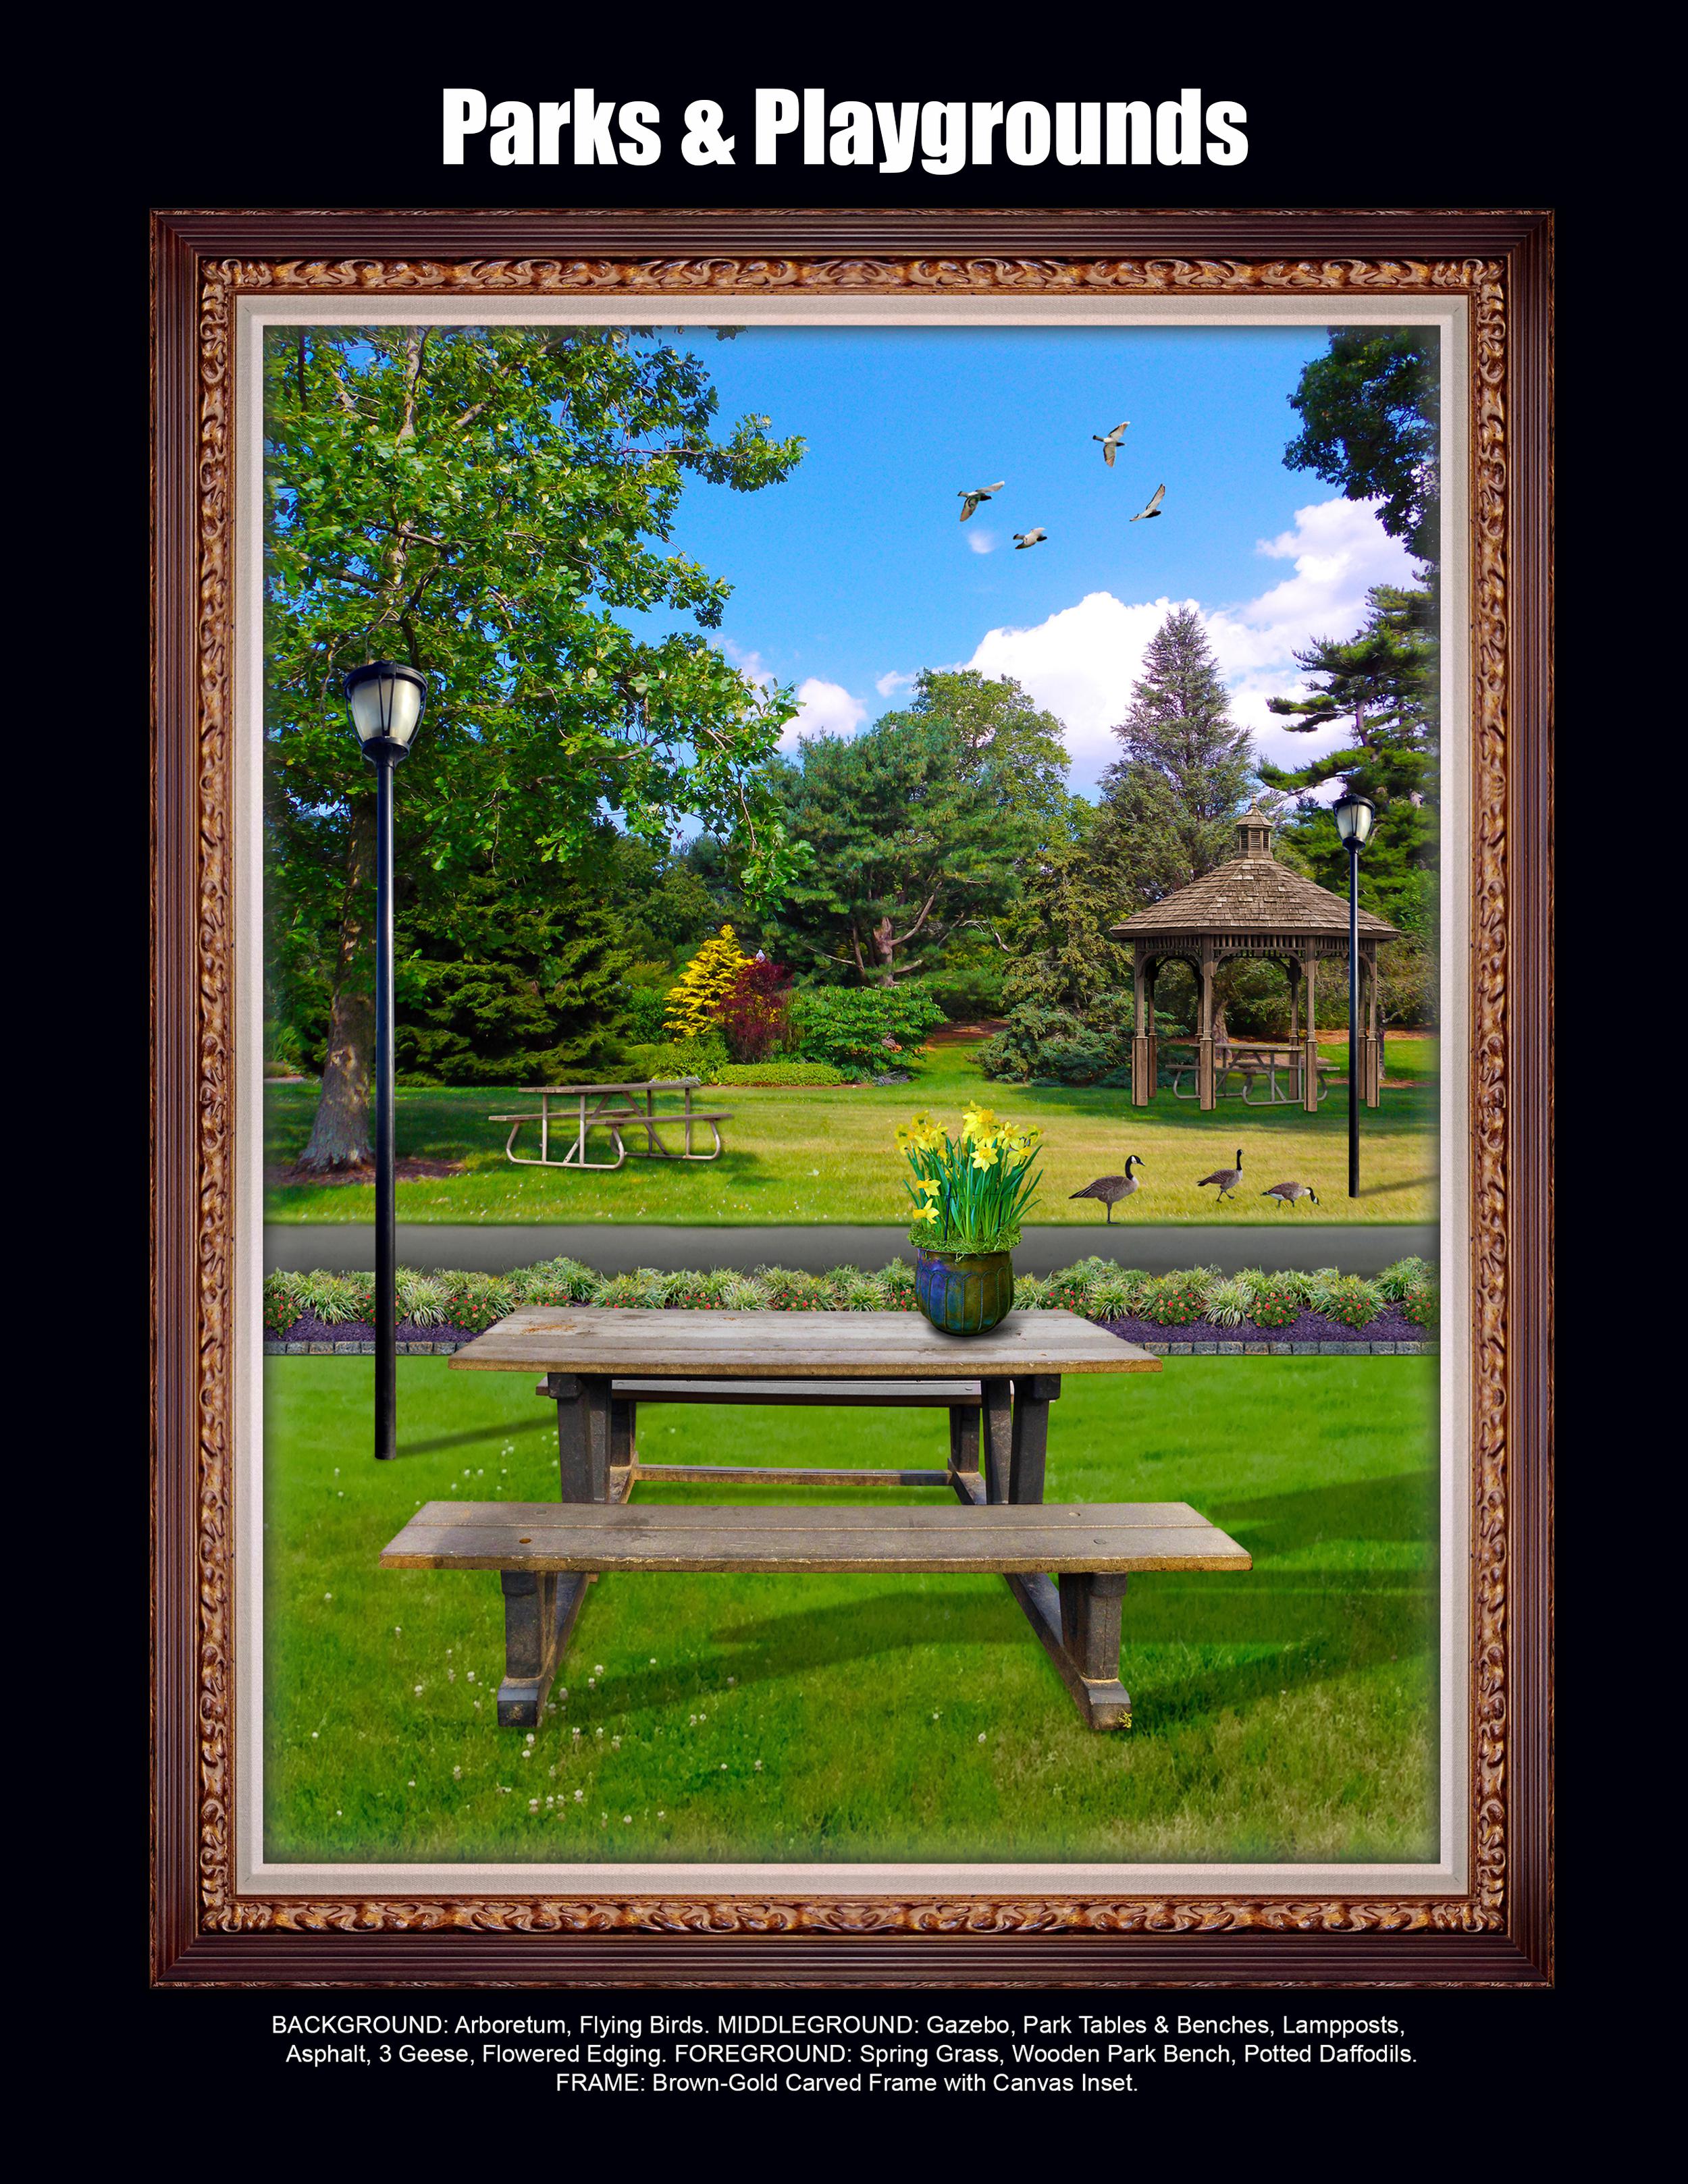
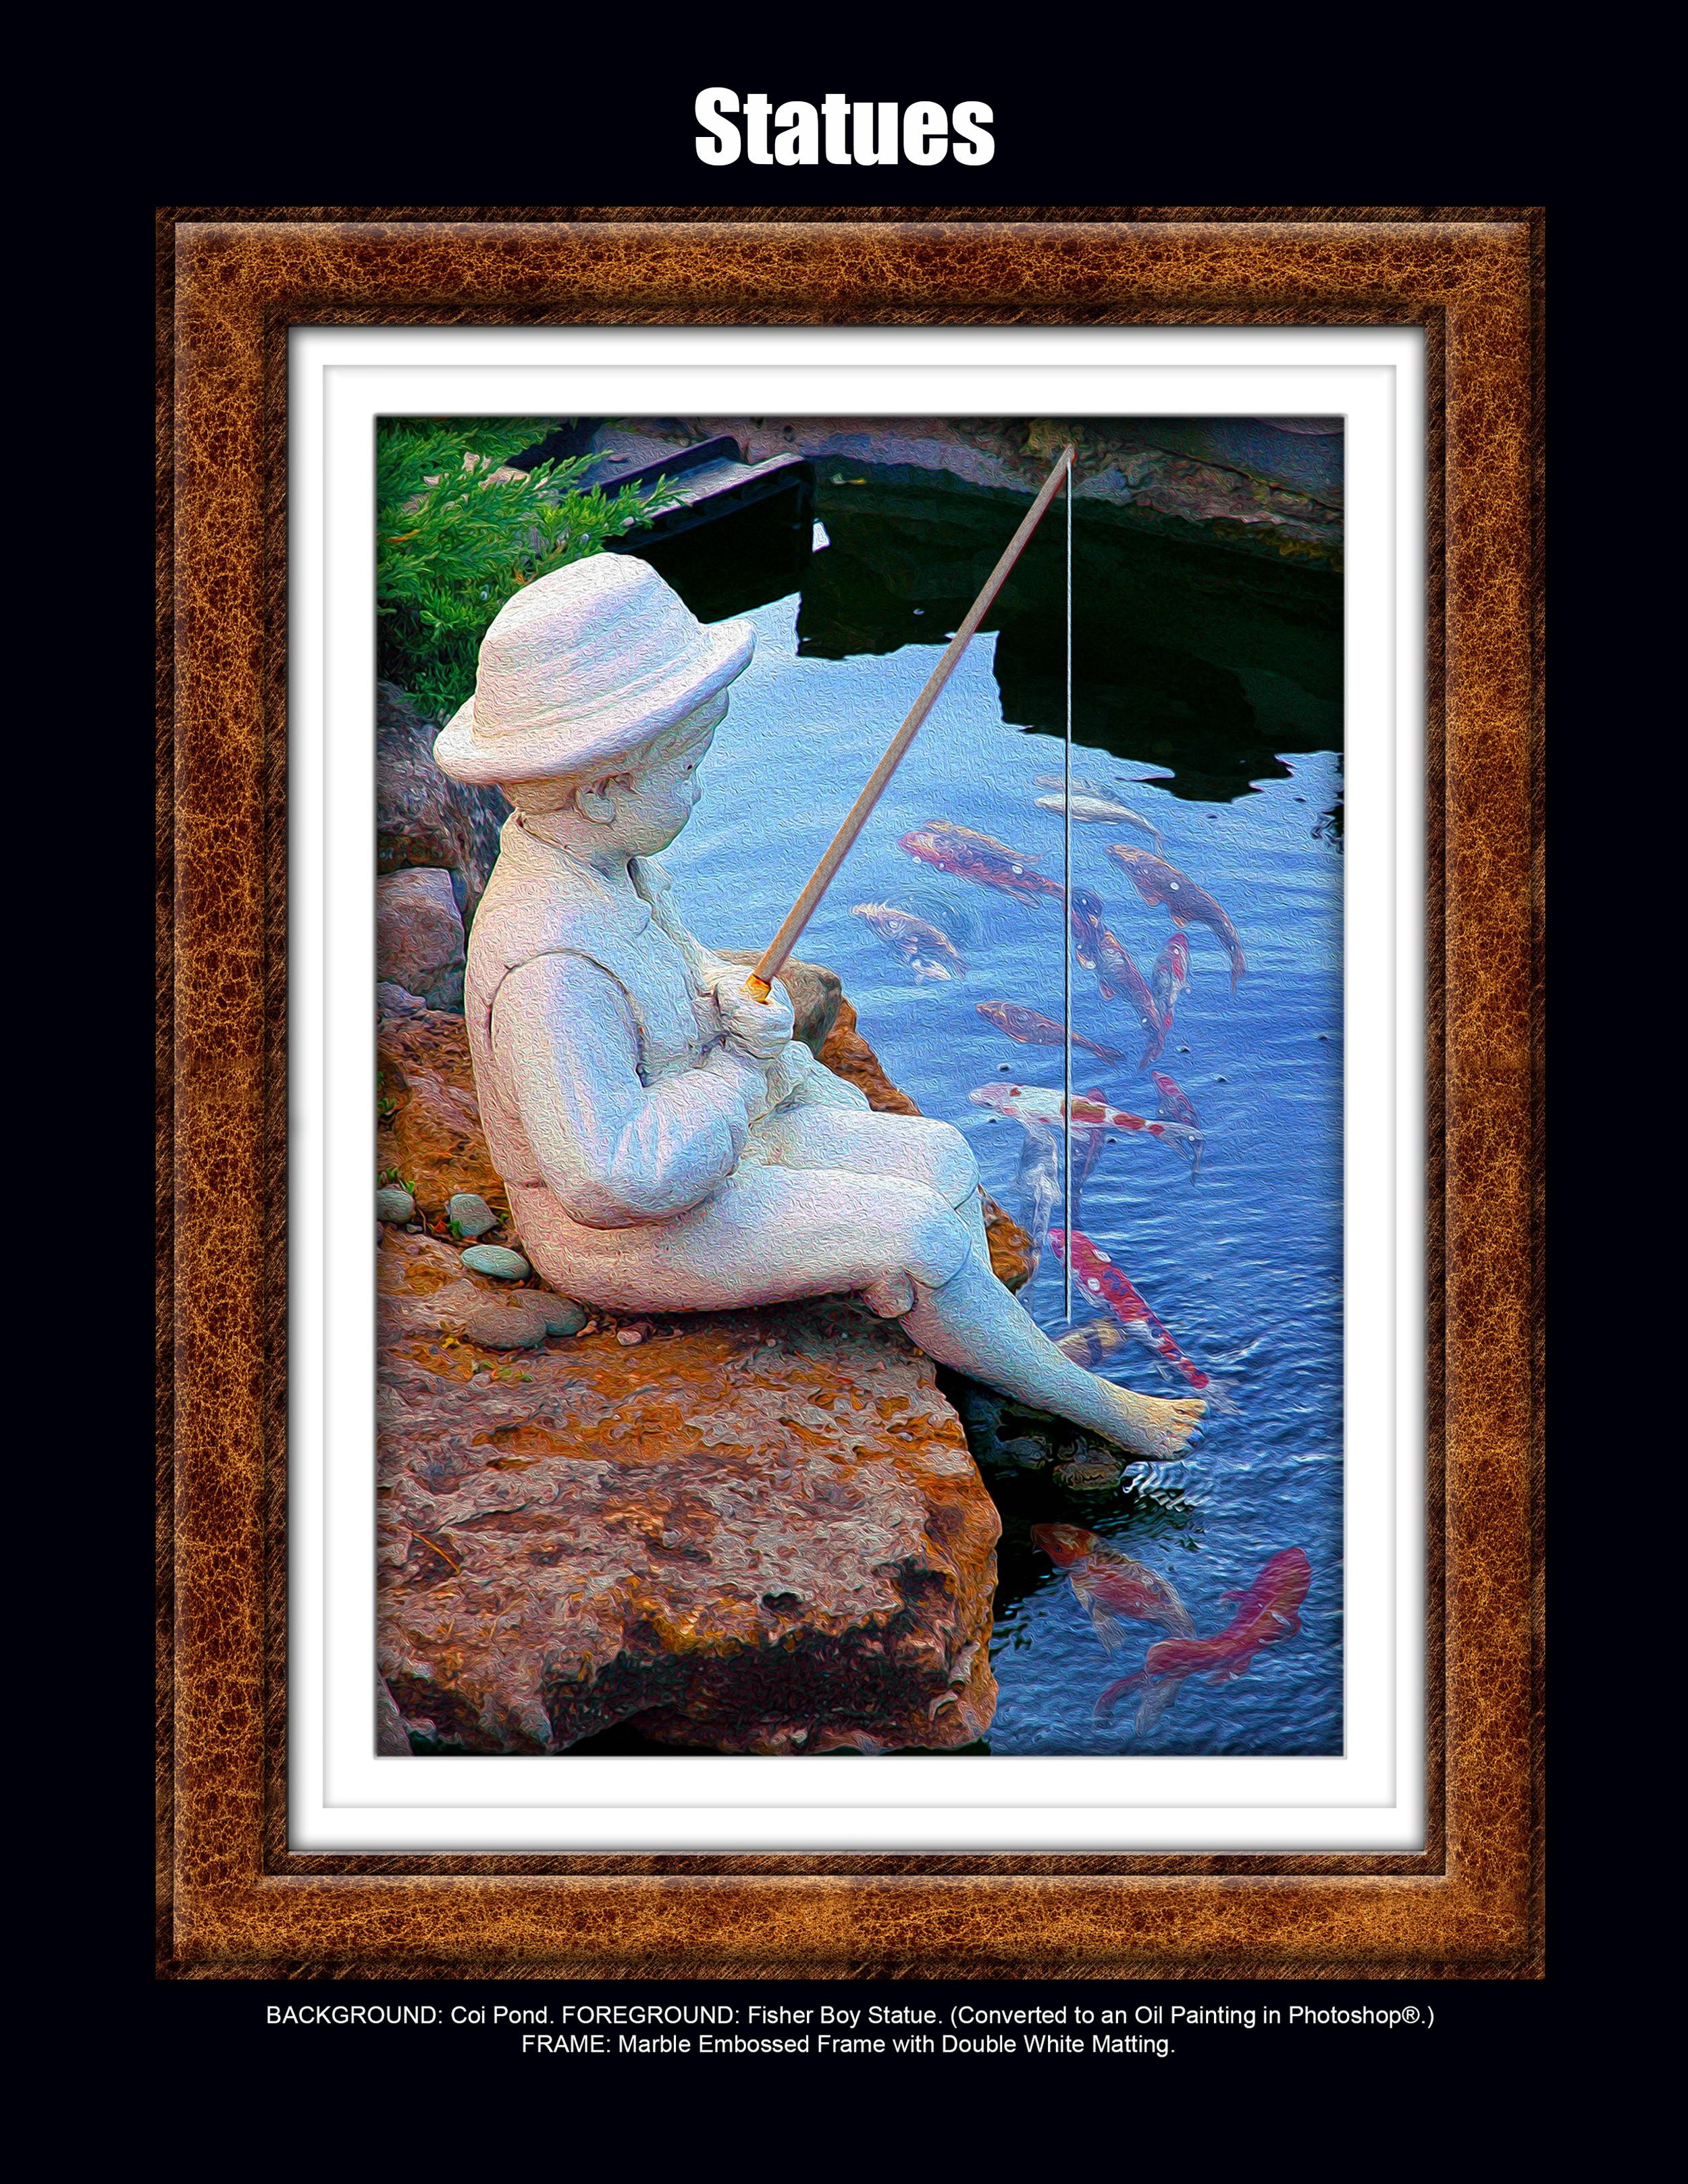
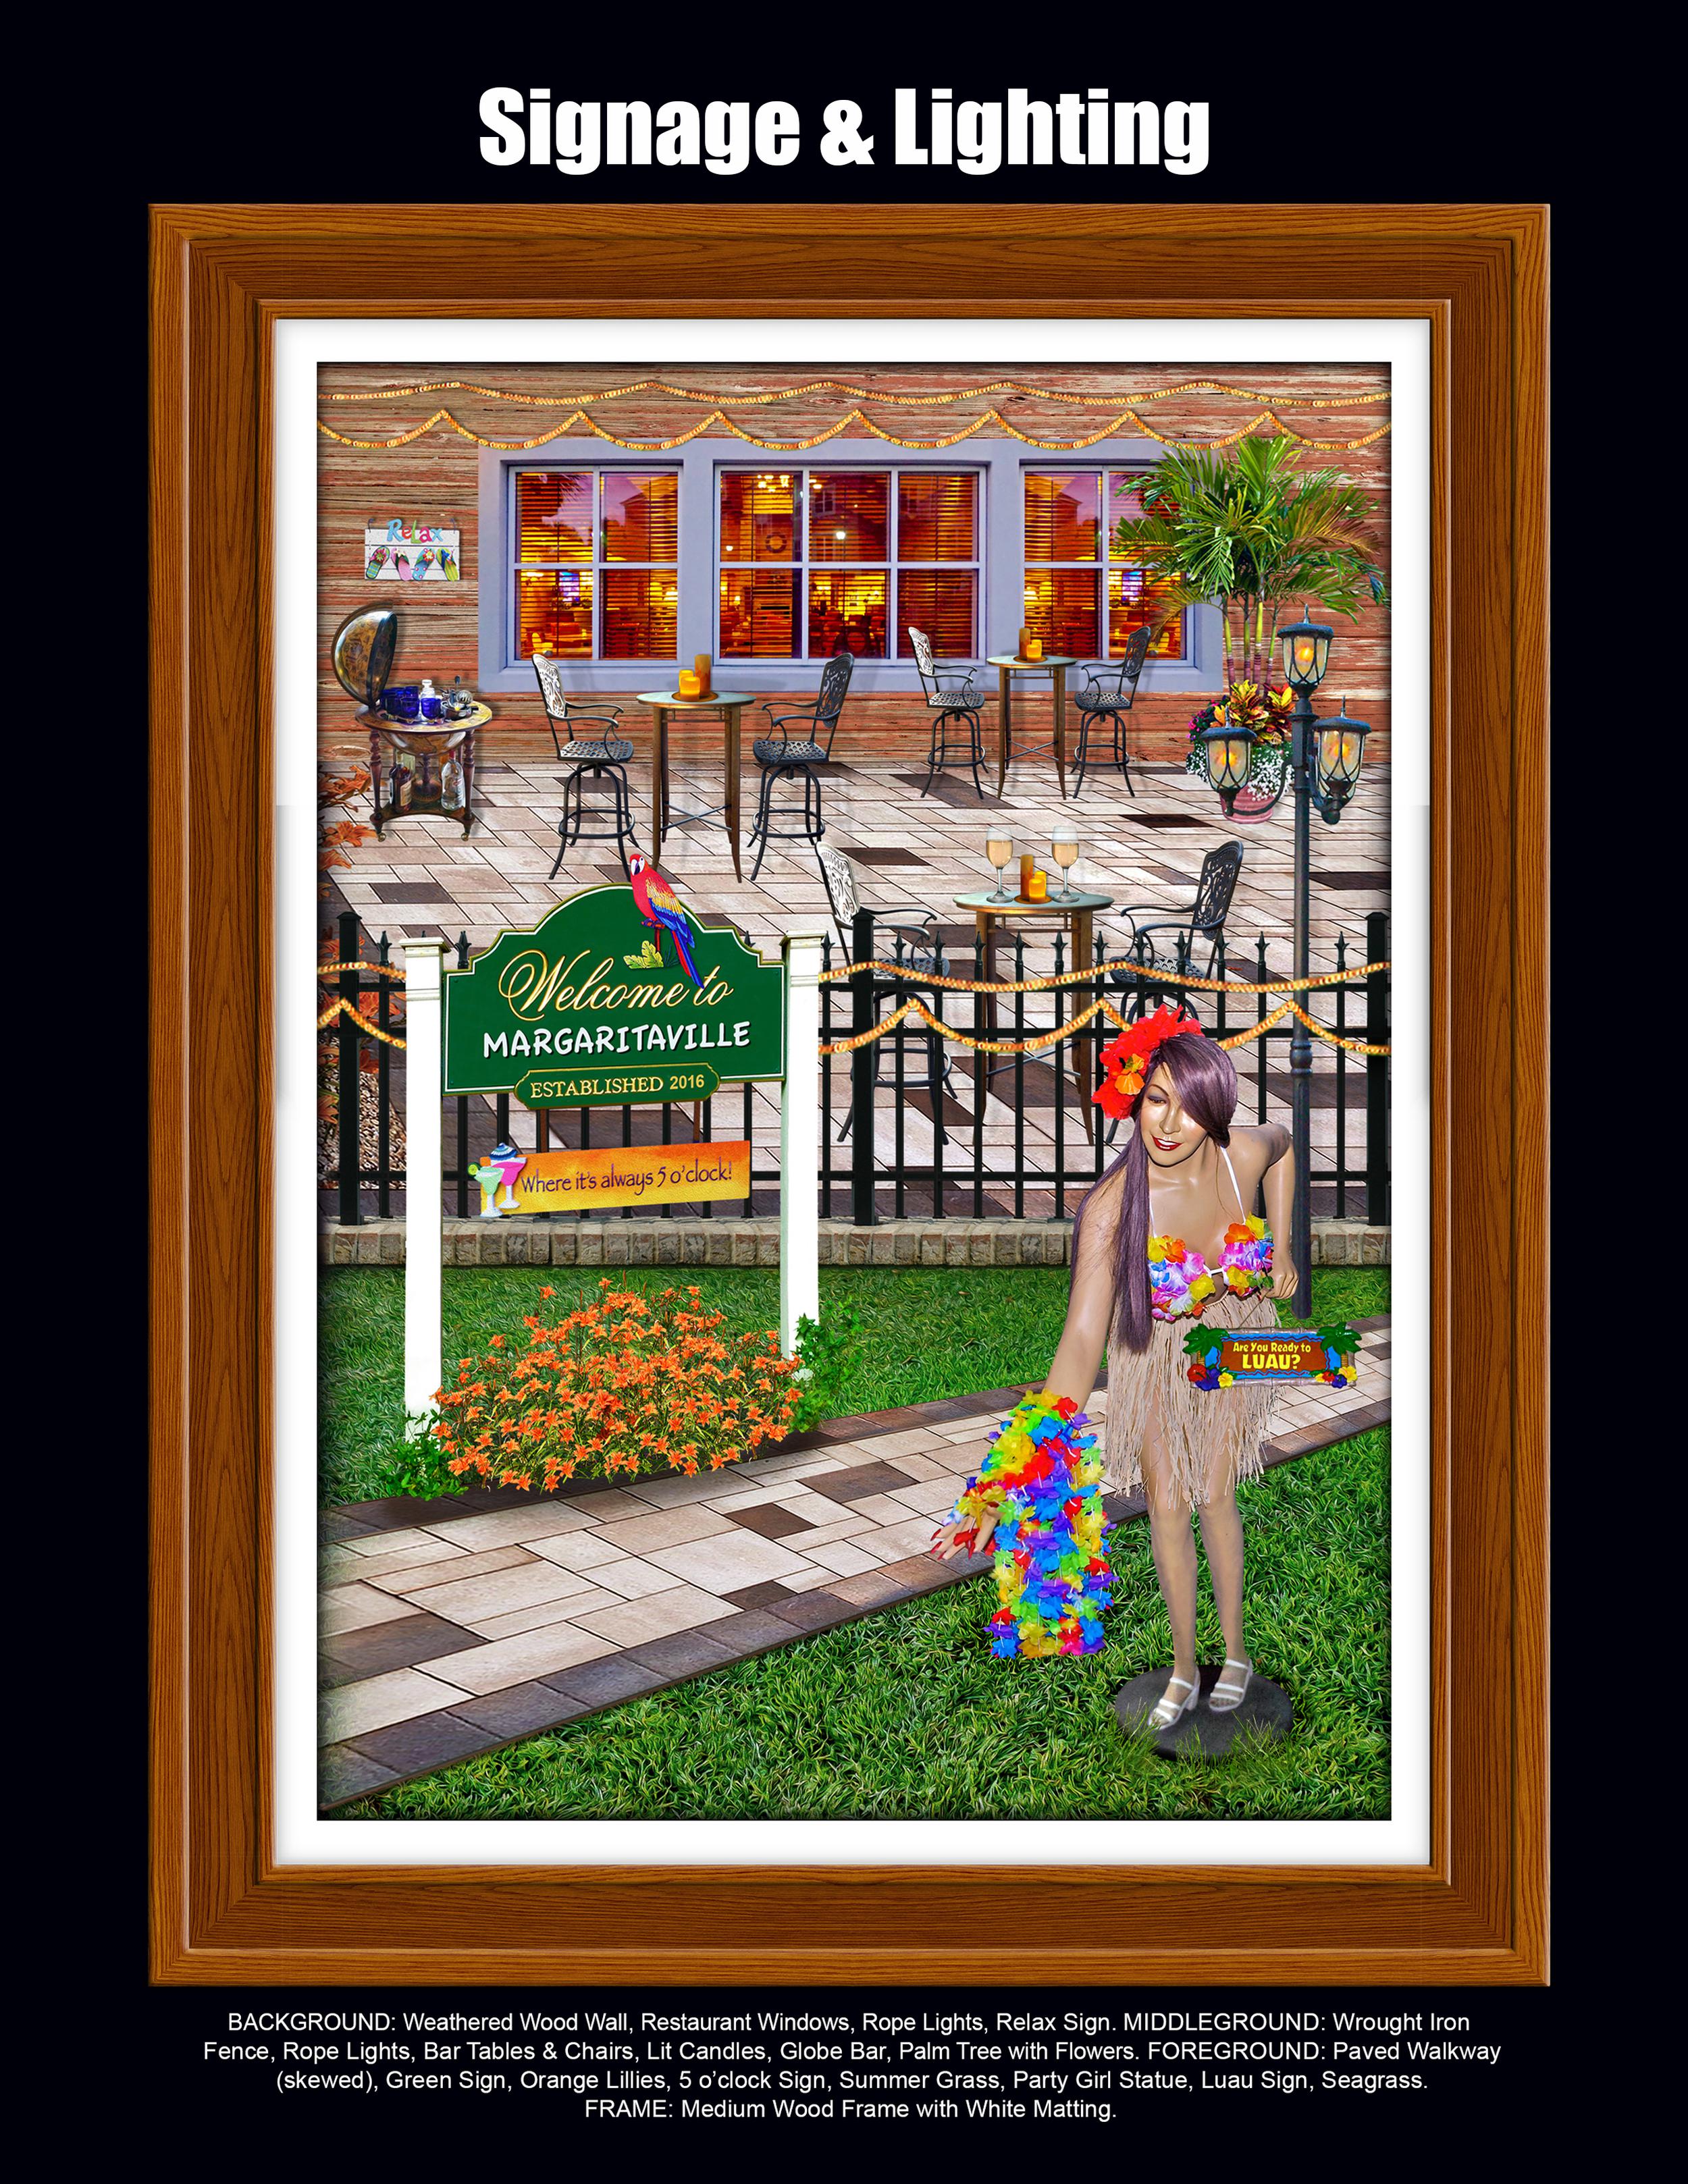
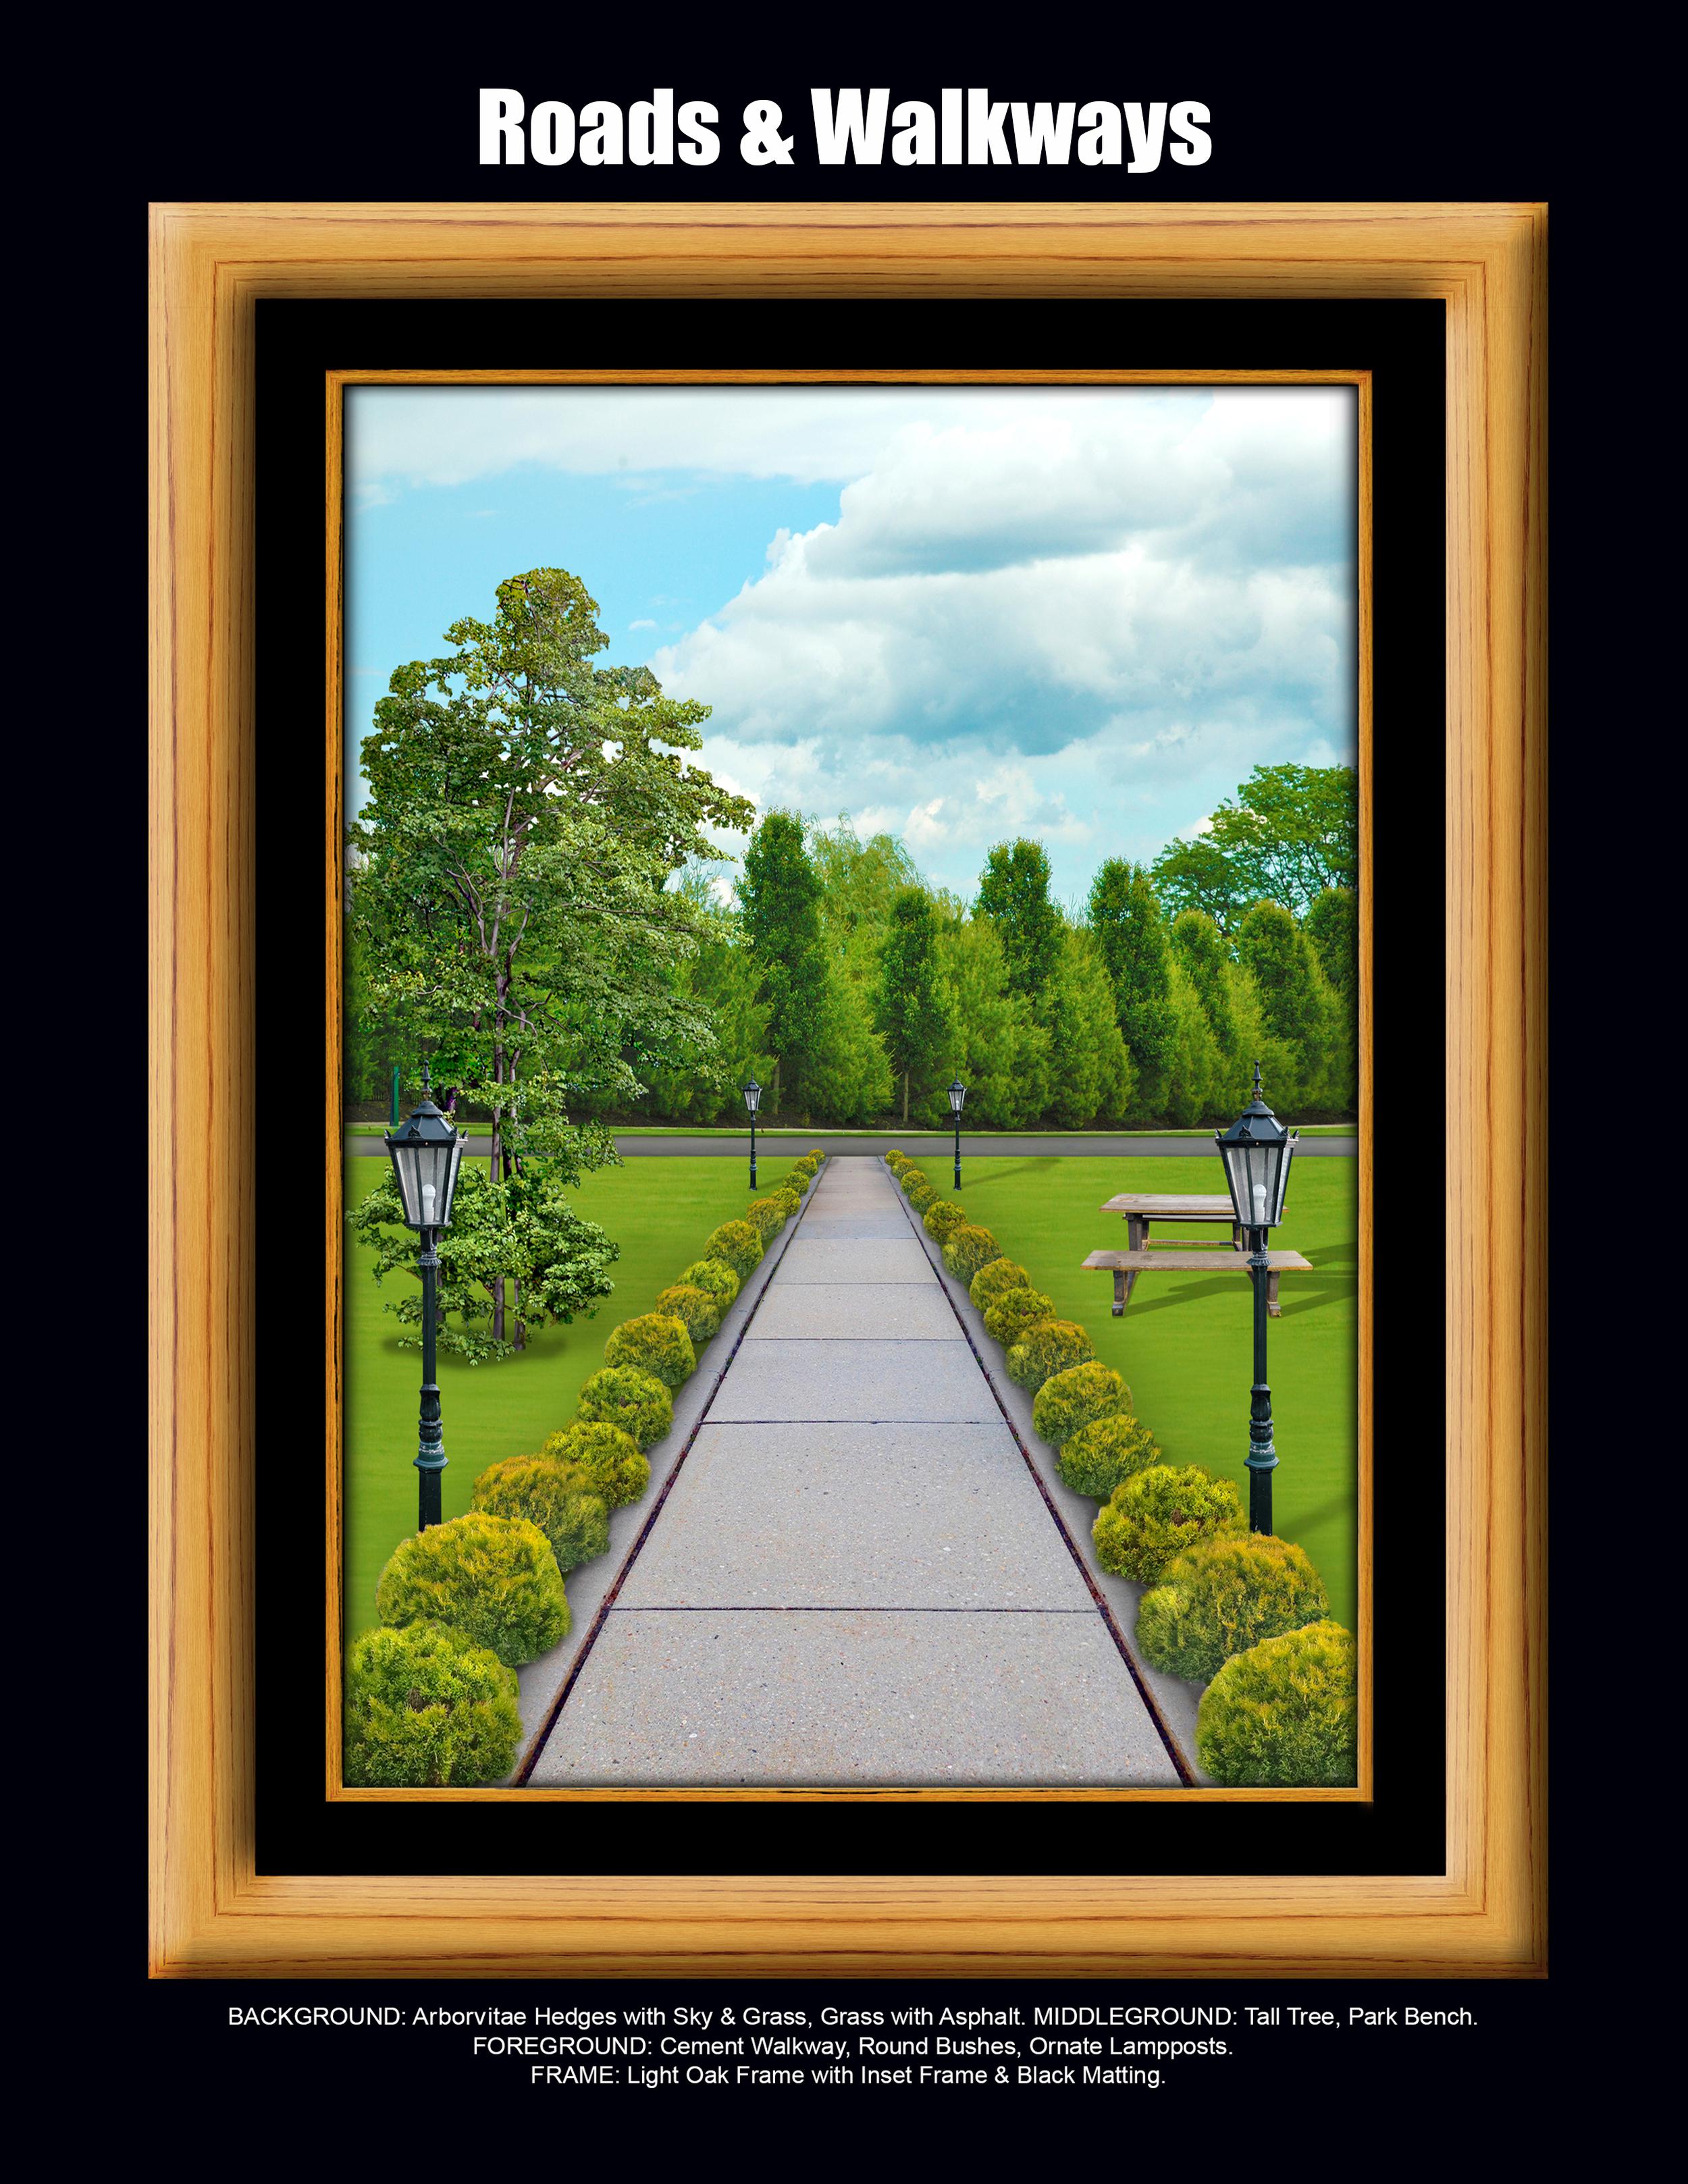
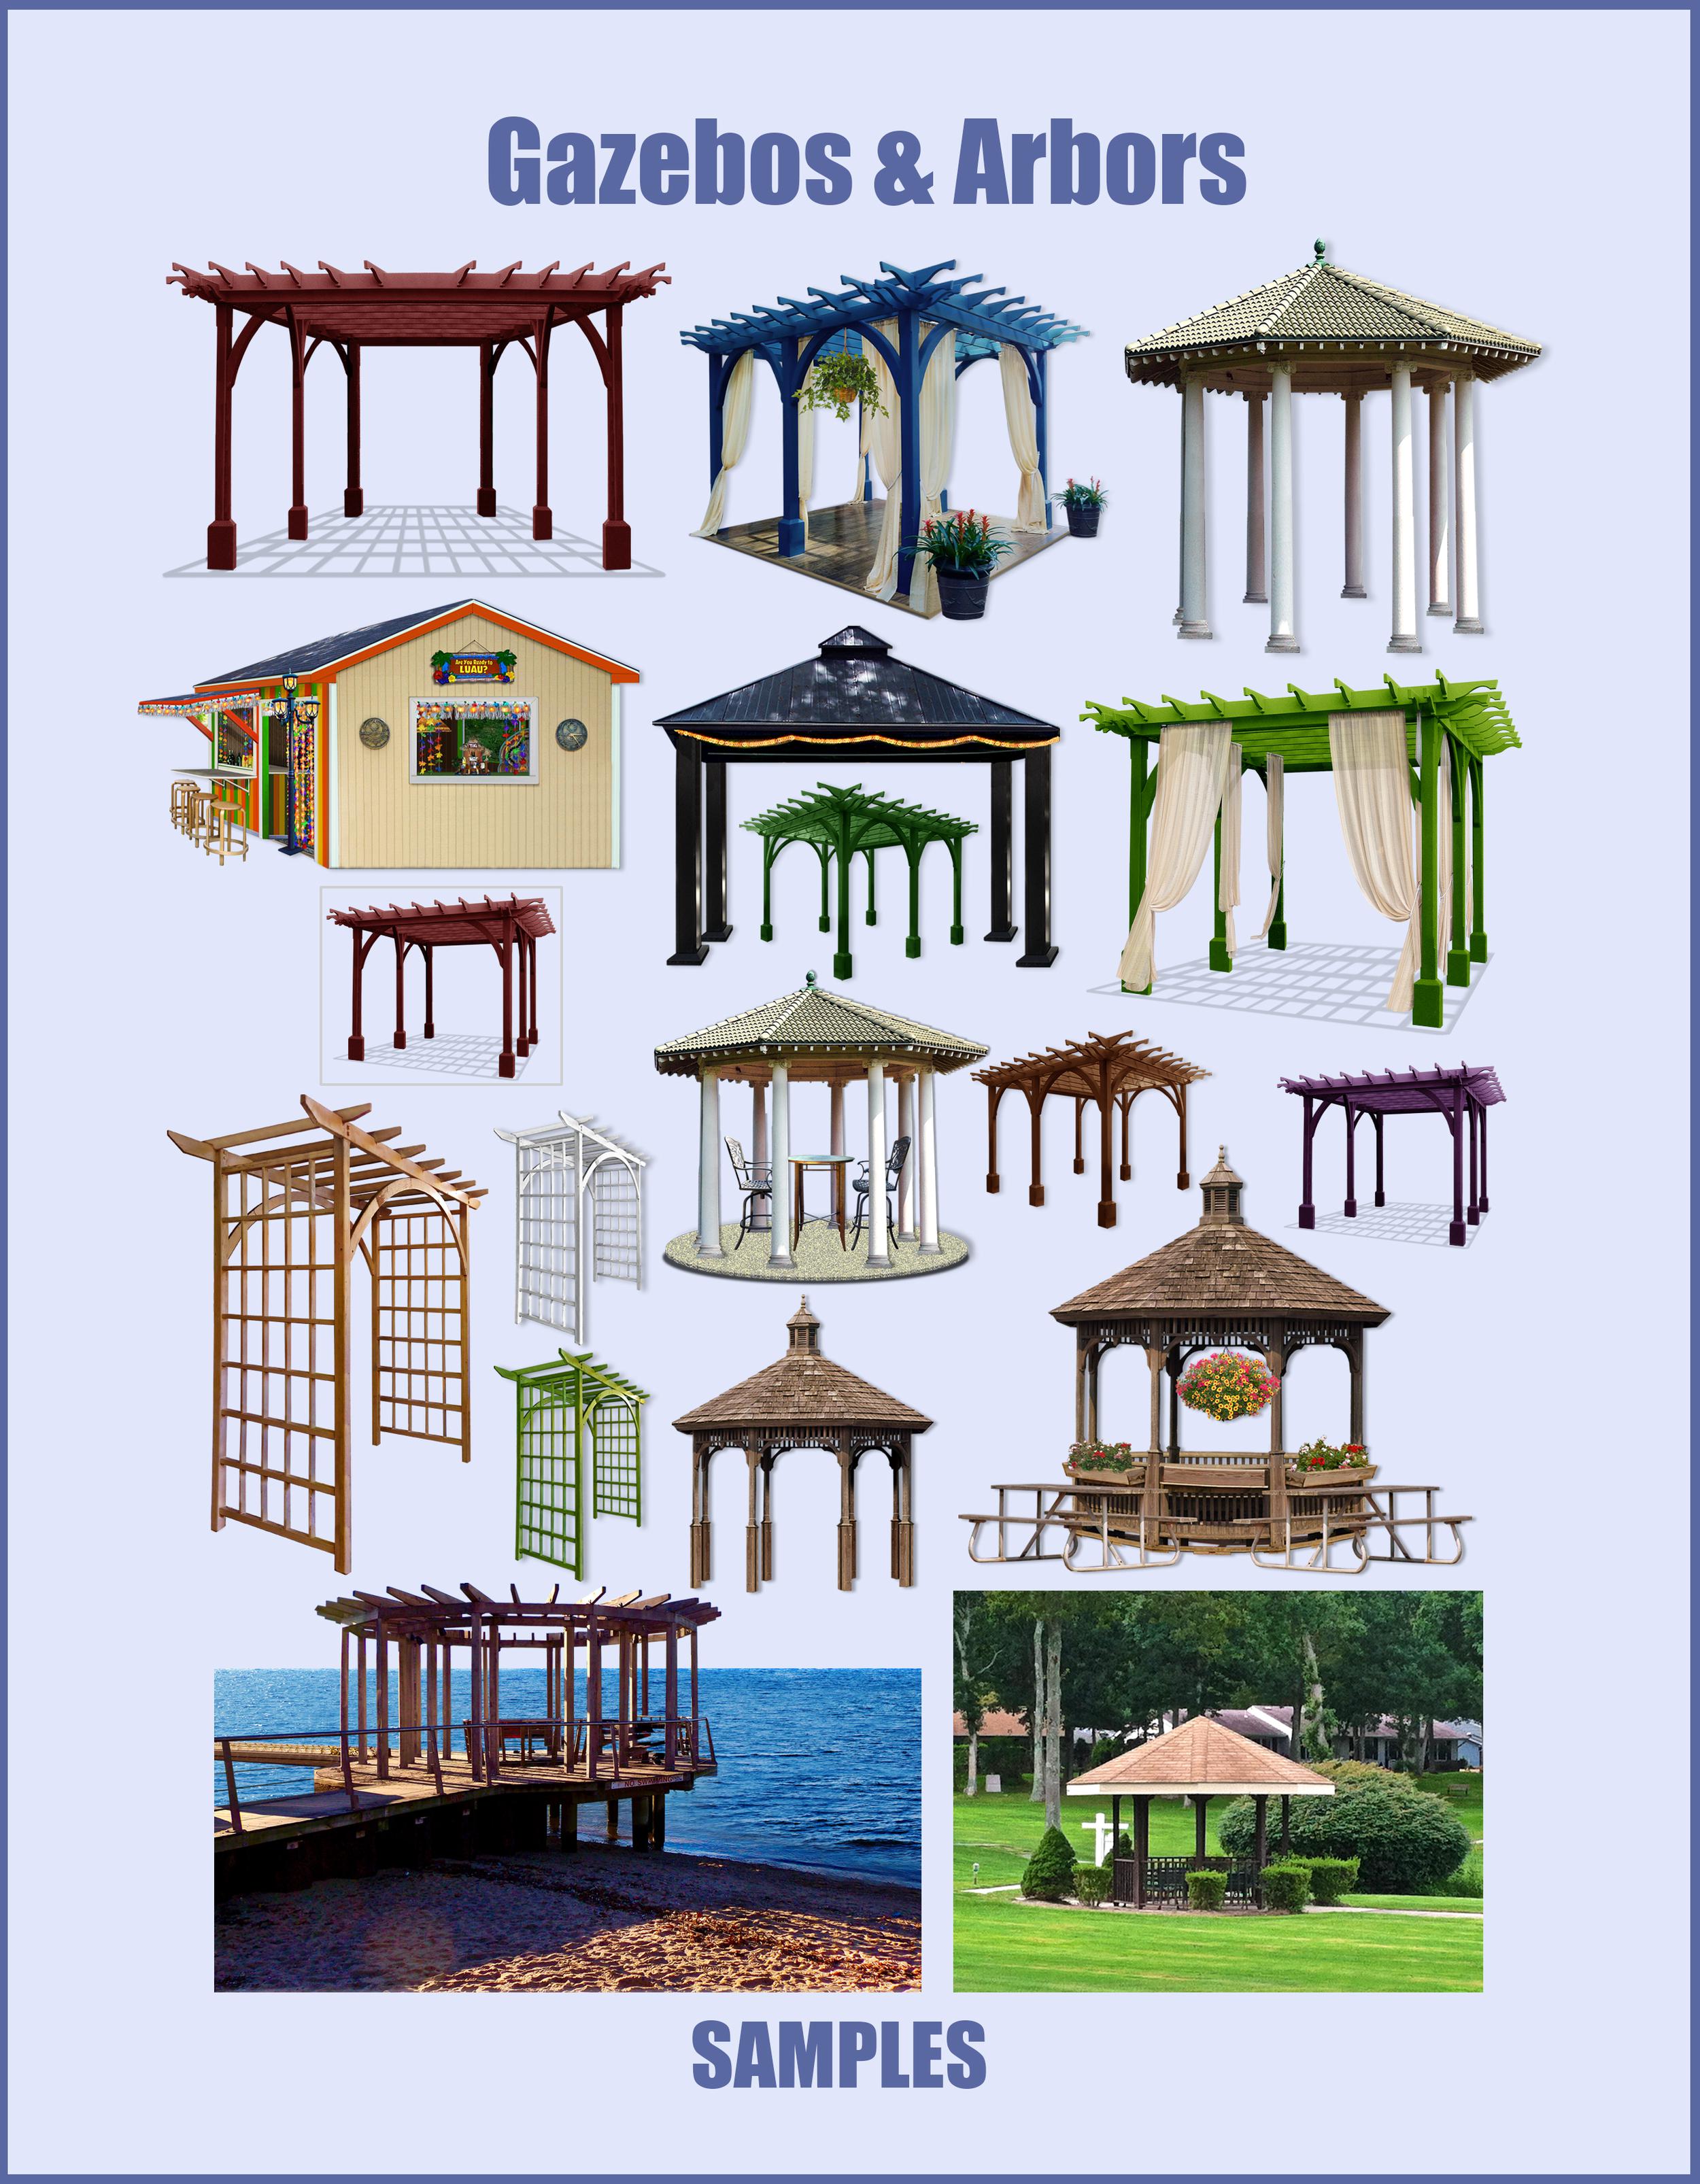
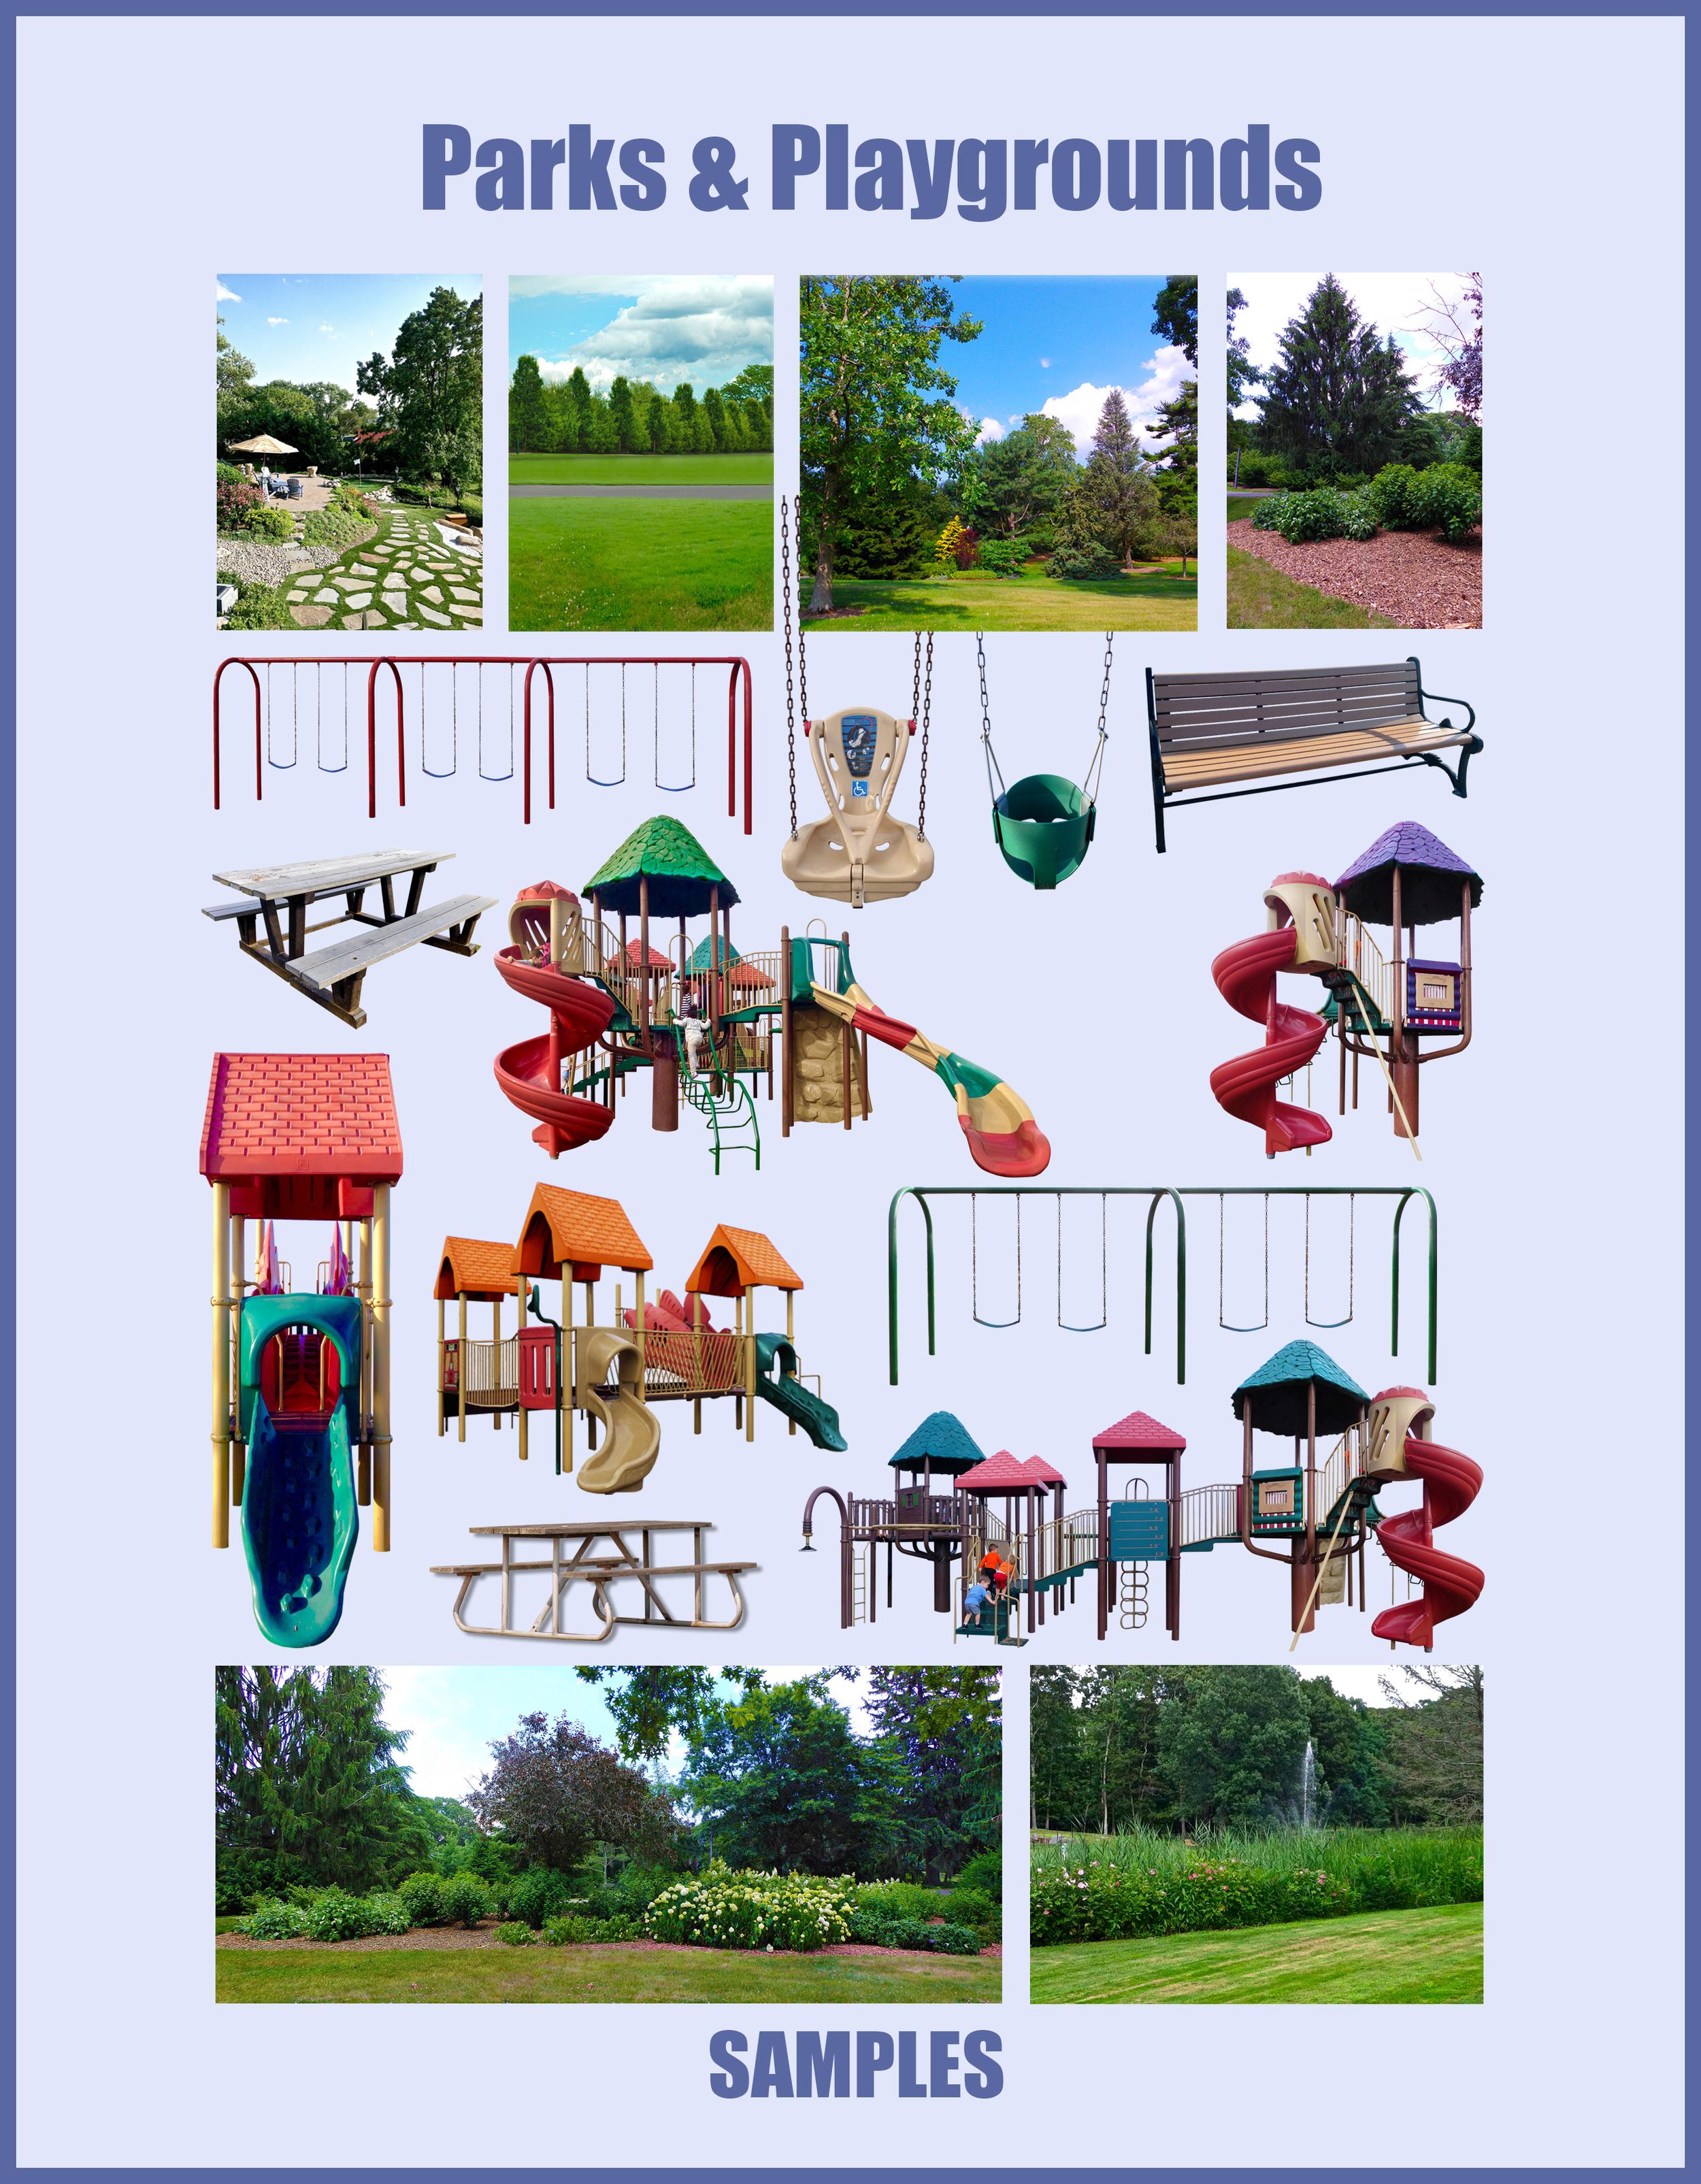
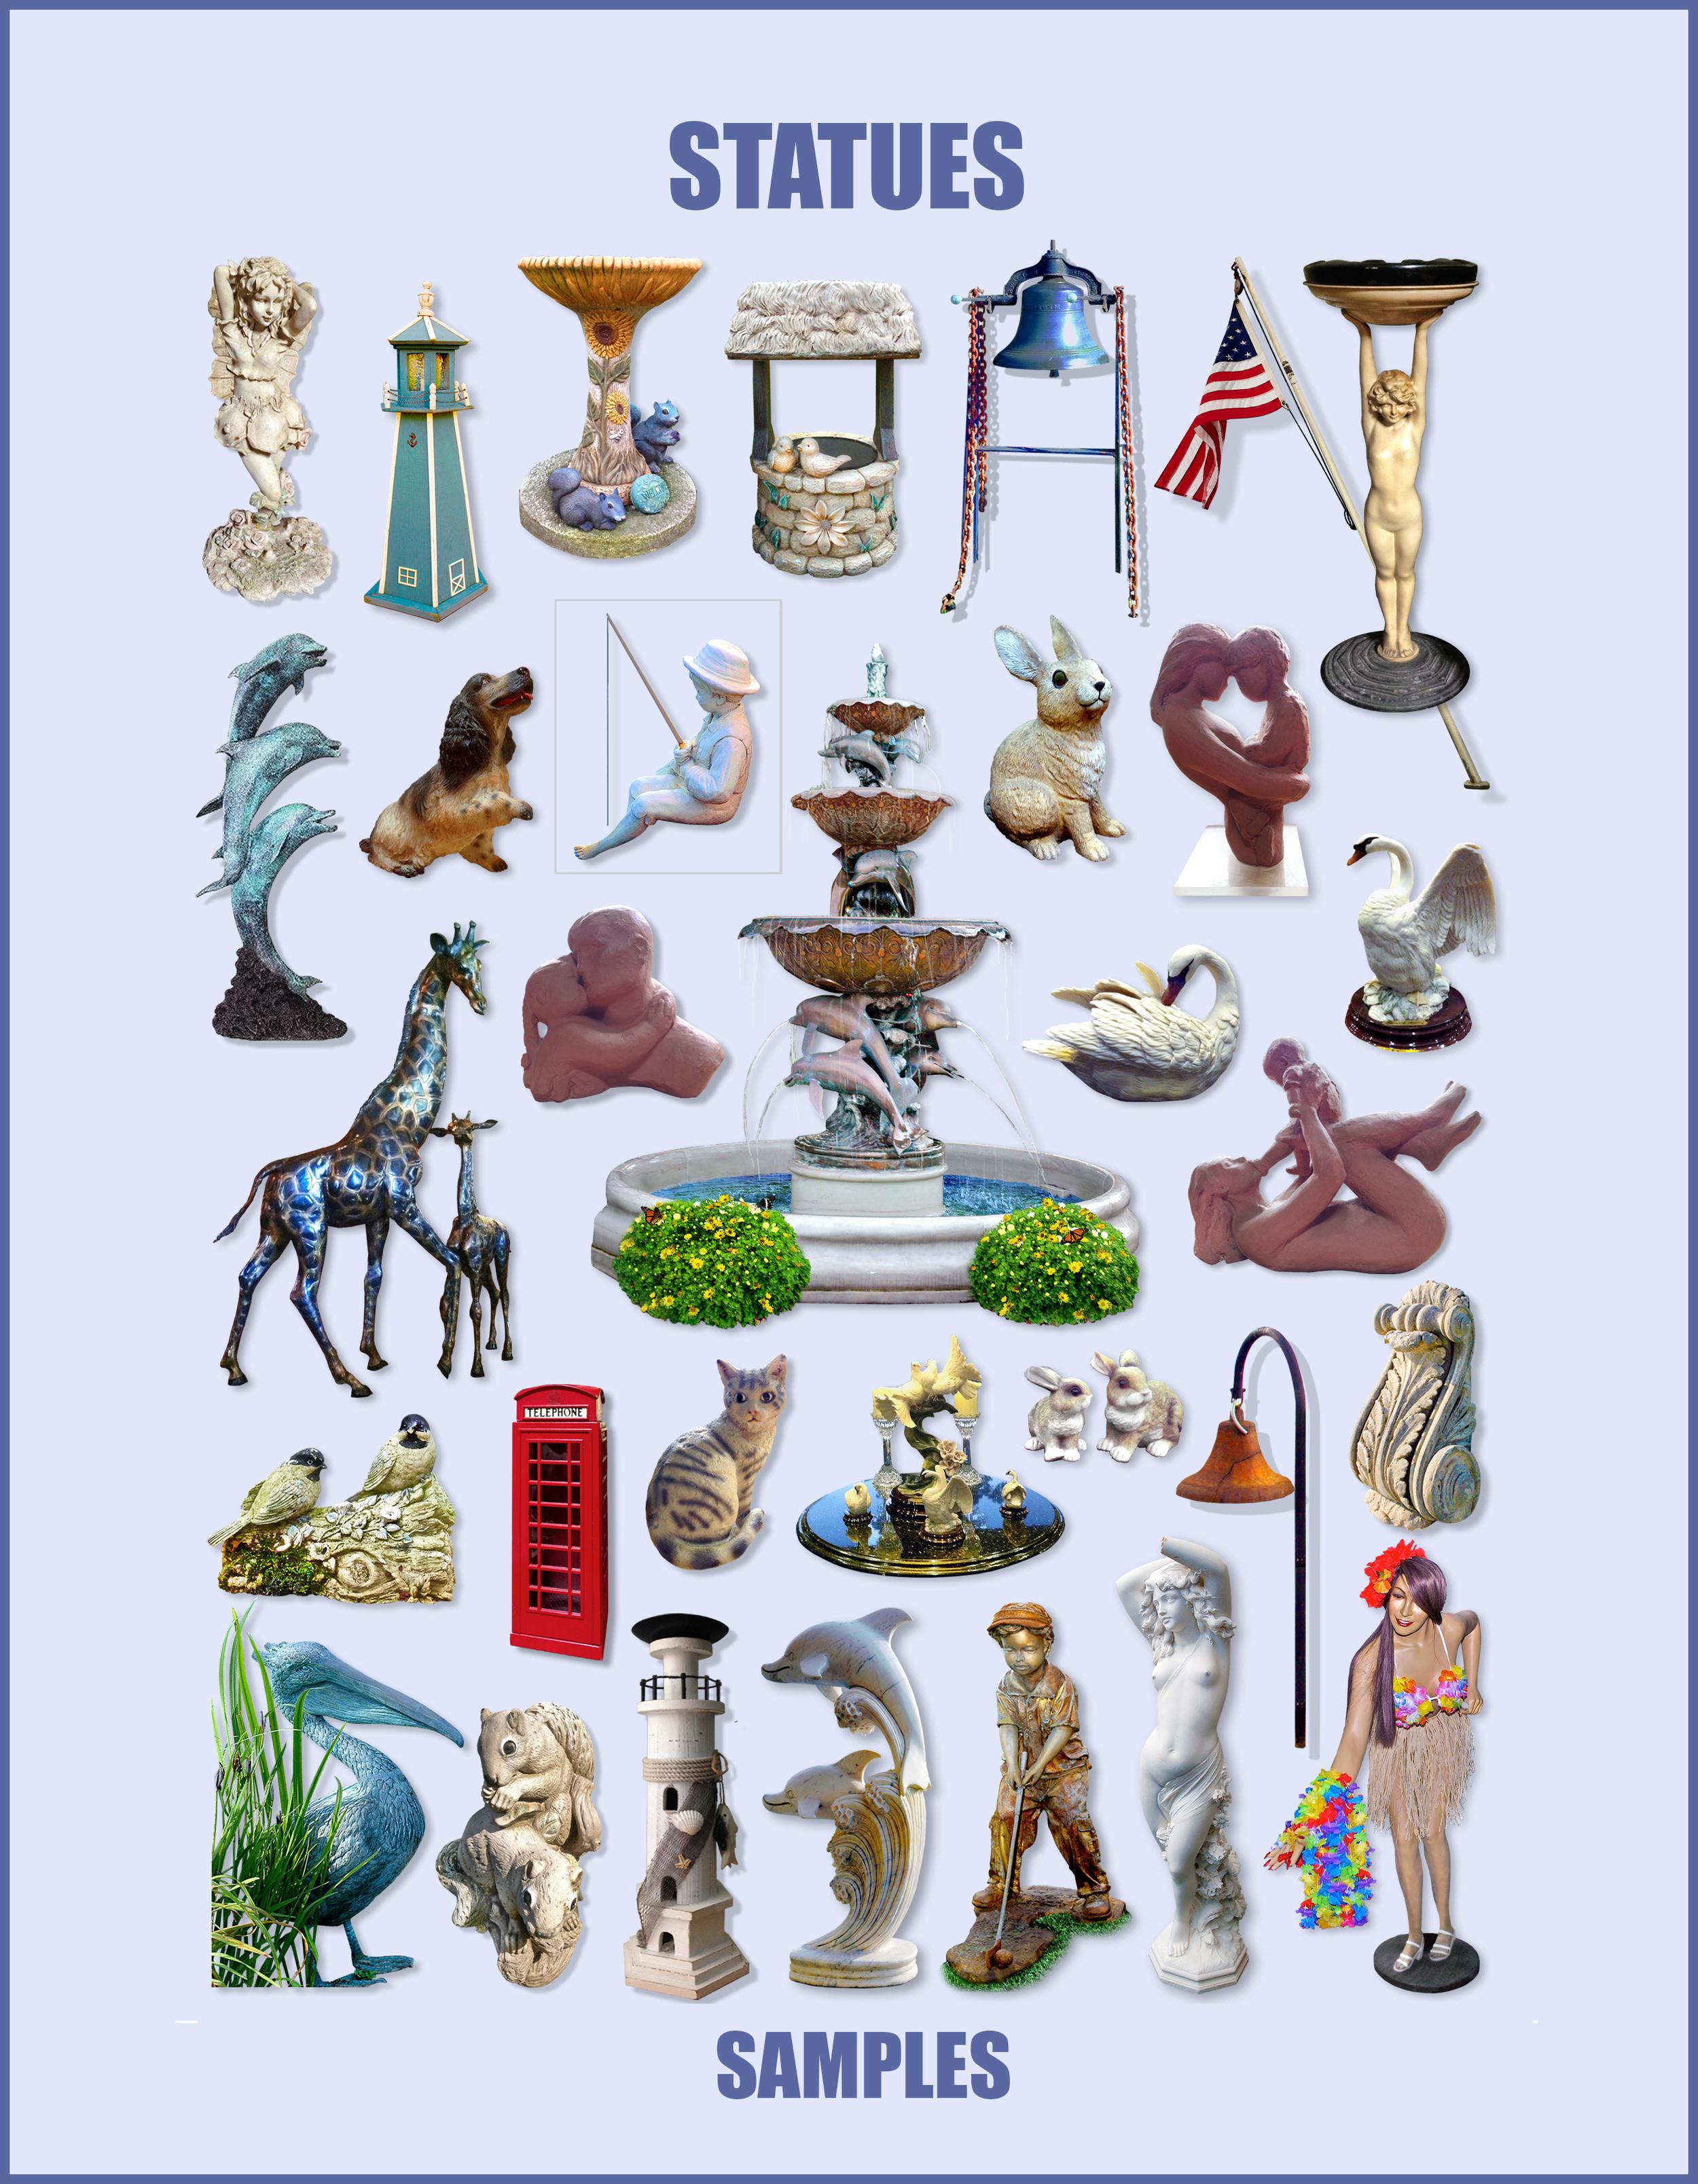
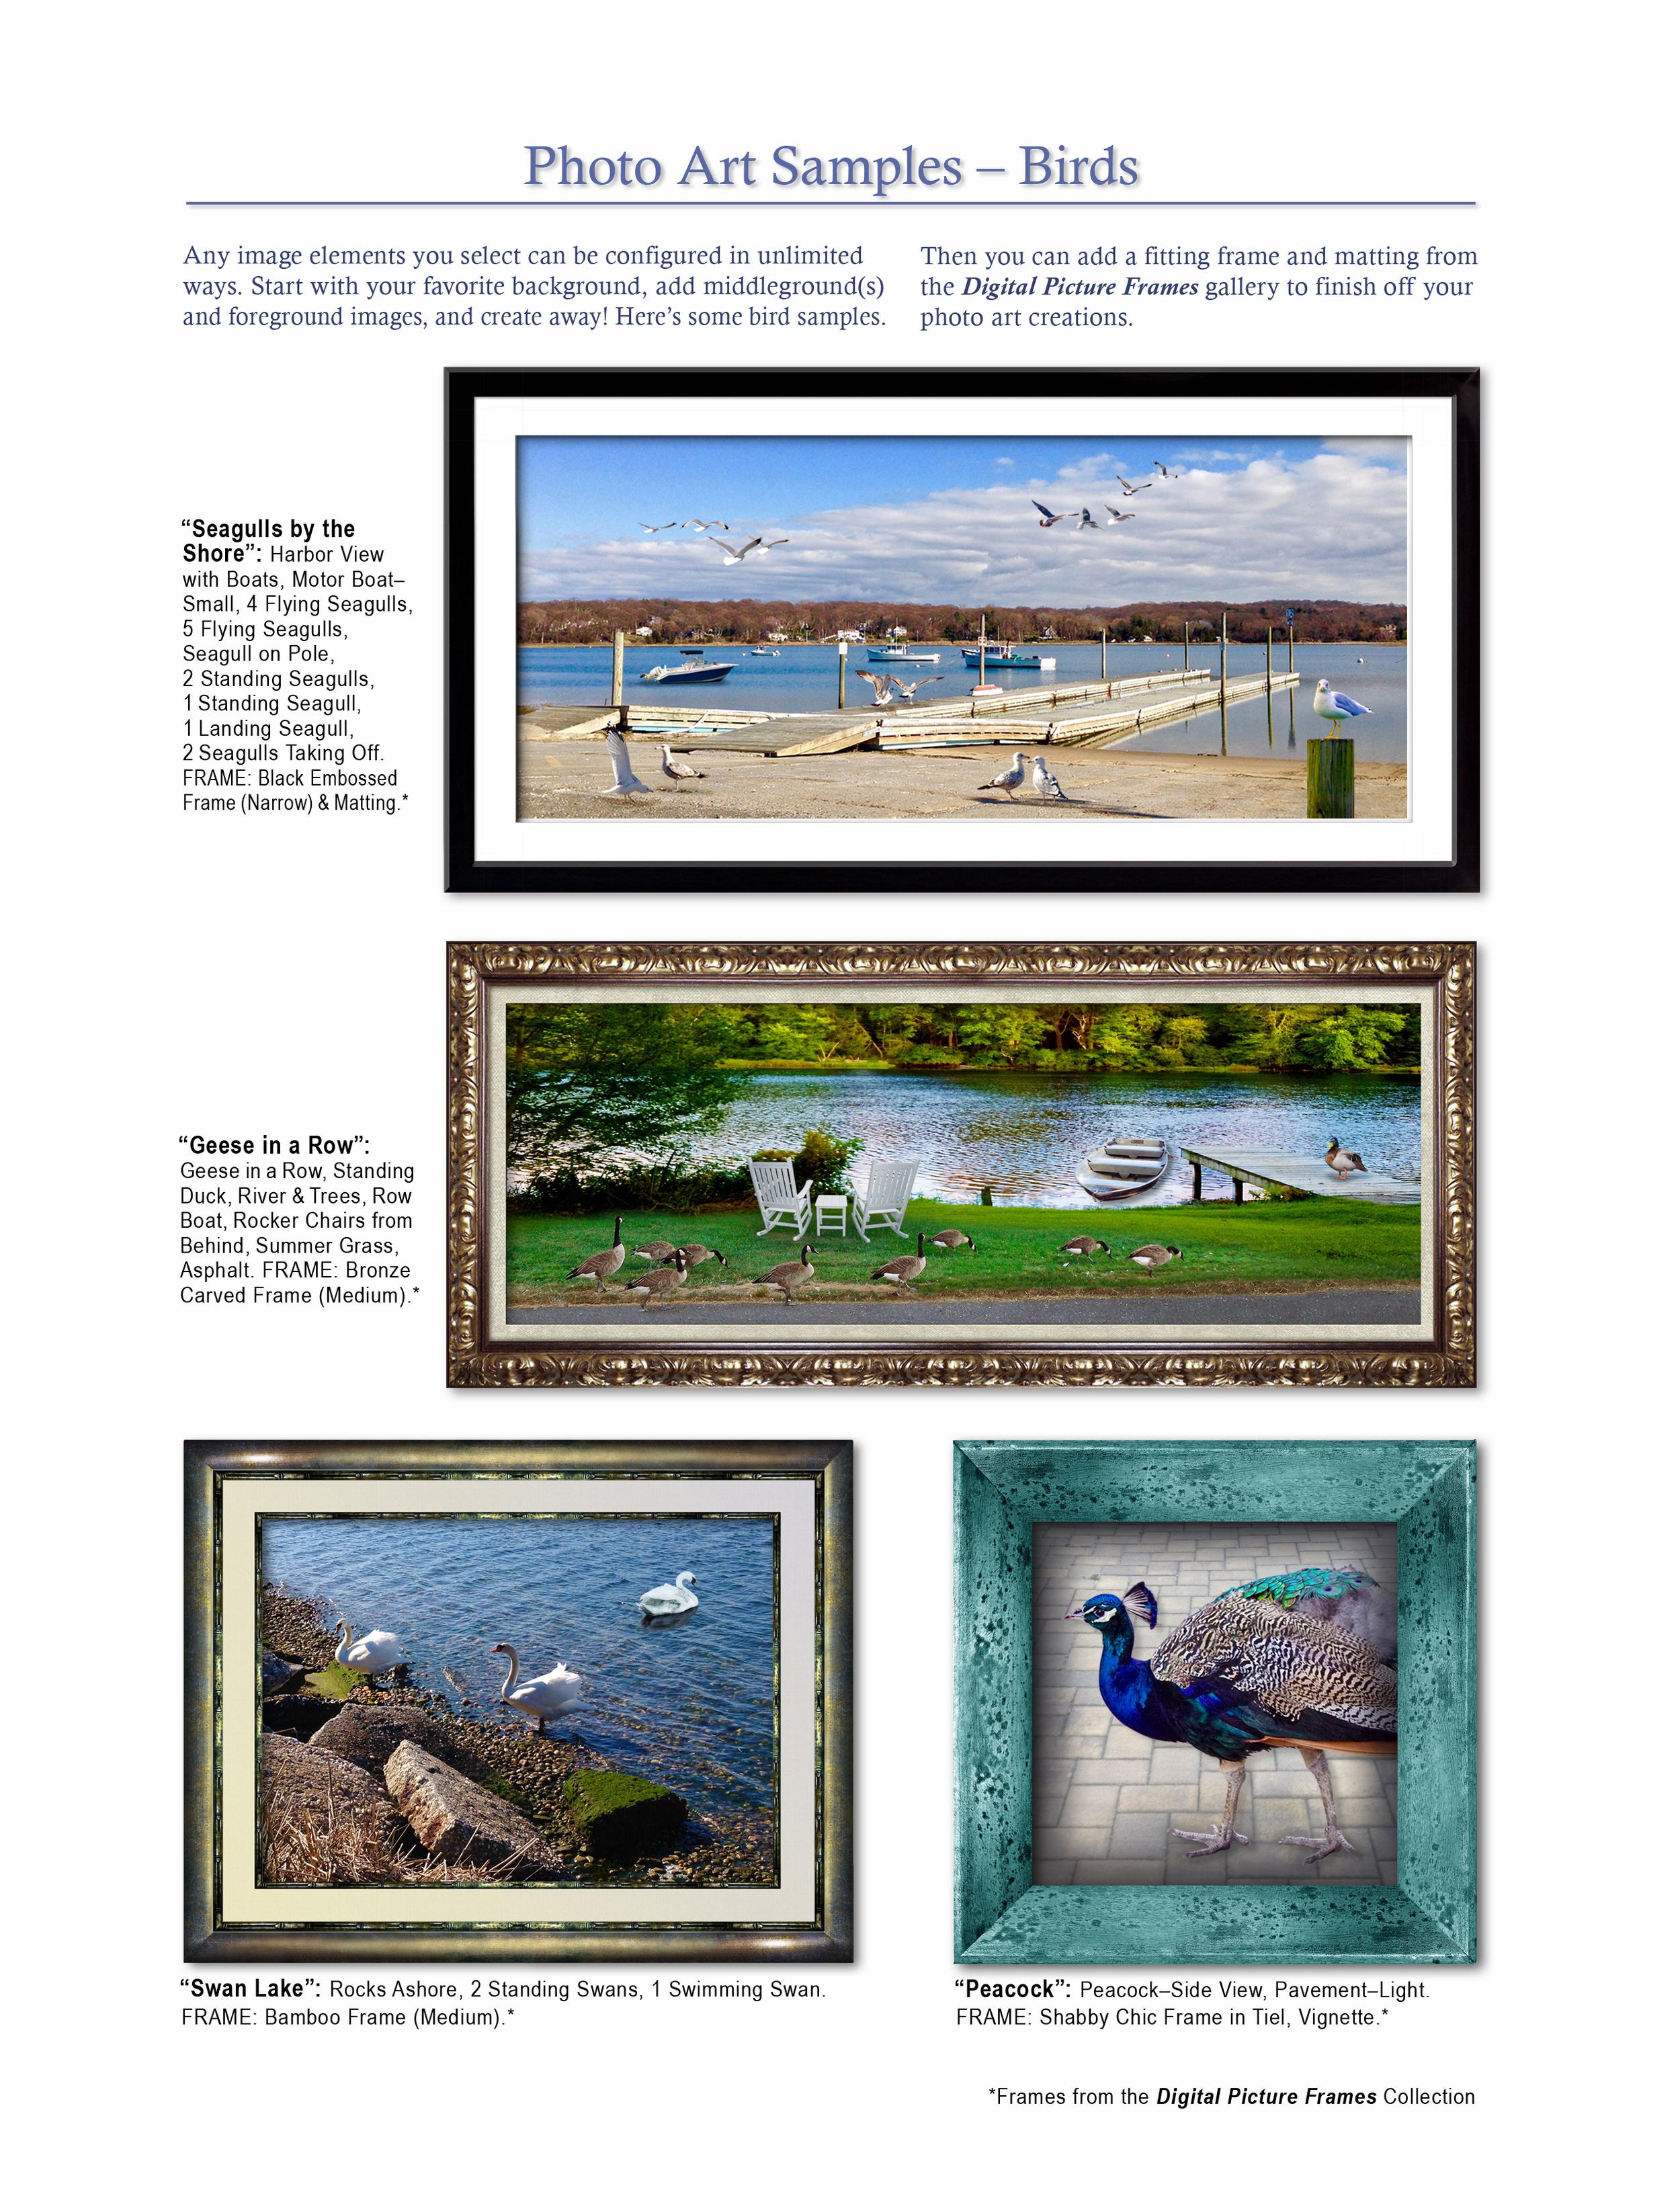
Want to create breathtaking photo art? Picture, for example, a beautiful relaxing scene. Is it on the beach, a river or lake, at a park or golf course? Under an arbor or gazebo, or at a campsite? Daylight or sunset? Now you can create whatever your heart desires by combining various photo elements. The art pictured here is a wholly created photo art composition using the ImageClips shown.
3. ADD PIZZAZZ TO DESIGN LAYOUTS
Looking for that certain something to make your designs stand out and elicit the attention of your target audience? Select elements from the Photo ImageClips gallery to add pizazz to your layouts.

SCENIC PHOTOGRAPHY
Throughout the years Evelyn Salvador had been photographing scenery, she started using components of images in other photos she's taken whenever she felt something was lacking. Adding "missing" elements she found enhanced her images.
THE START OF PHOTO IMAGECLIPS
She then started taking shots (such as skies, water, trees, ground coverings, etc.) for the sole purpose of having additional images available to enhance her photos. Later, she took her images to another level by wholly creating photo art composites from them.
PHOTO IMAGECLIPS AVAILABILITY
She now makes her immense Photo ImageClips gallery availale so photographers, artists, and designers can use them to enhance their own photos, create original photo art compositions, and/or add pizazz to design layouts, as well.


Adding ImageClips can turn ordinary photos
into wonderful works of art!
Here are some BEFORE and AFTER examples.


If you can imagine it, you can create it!
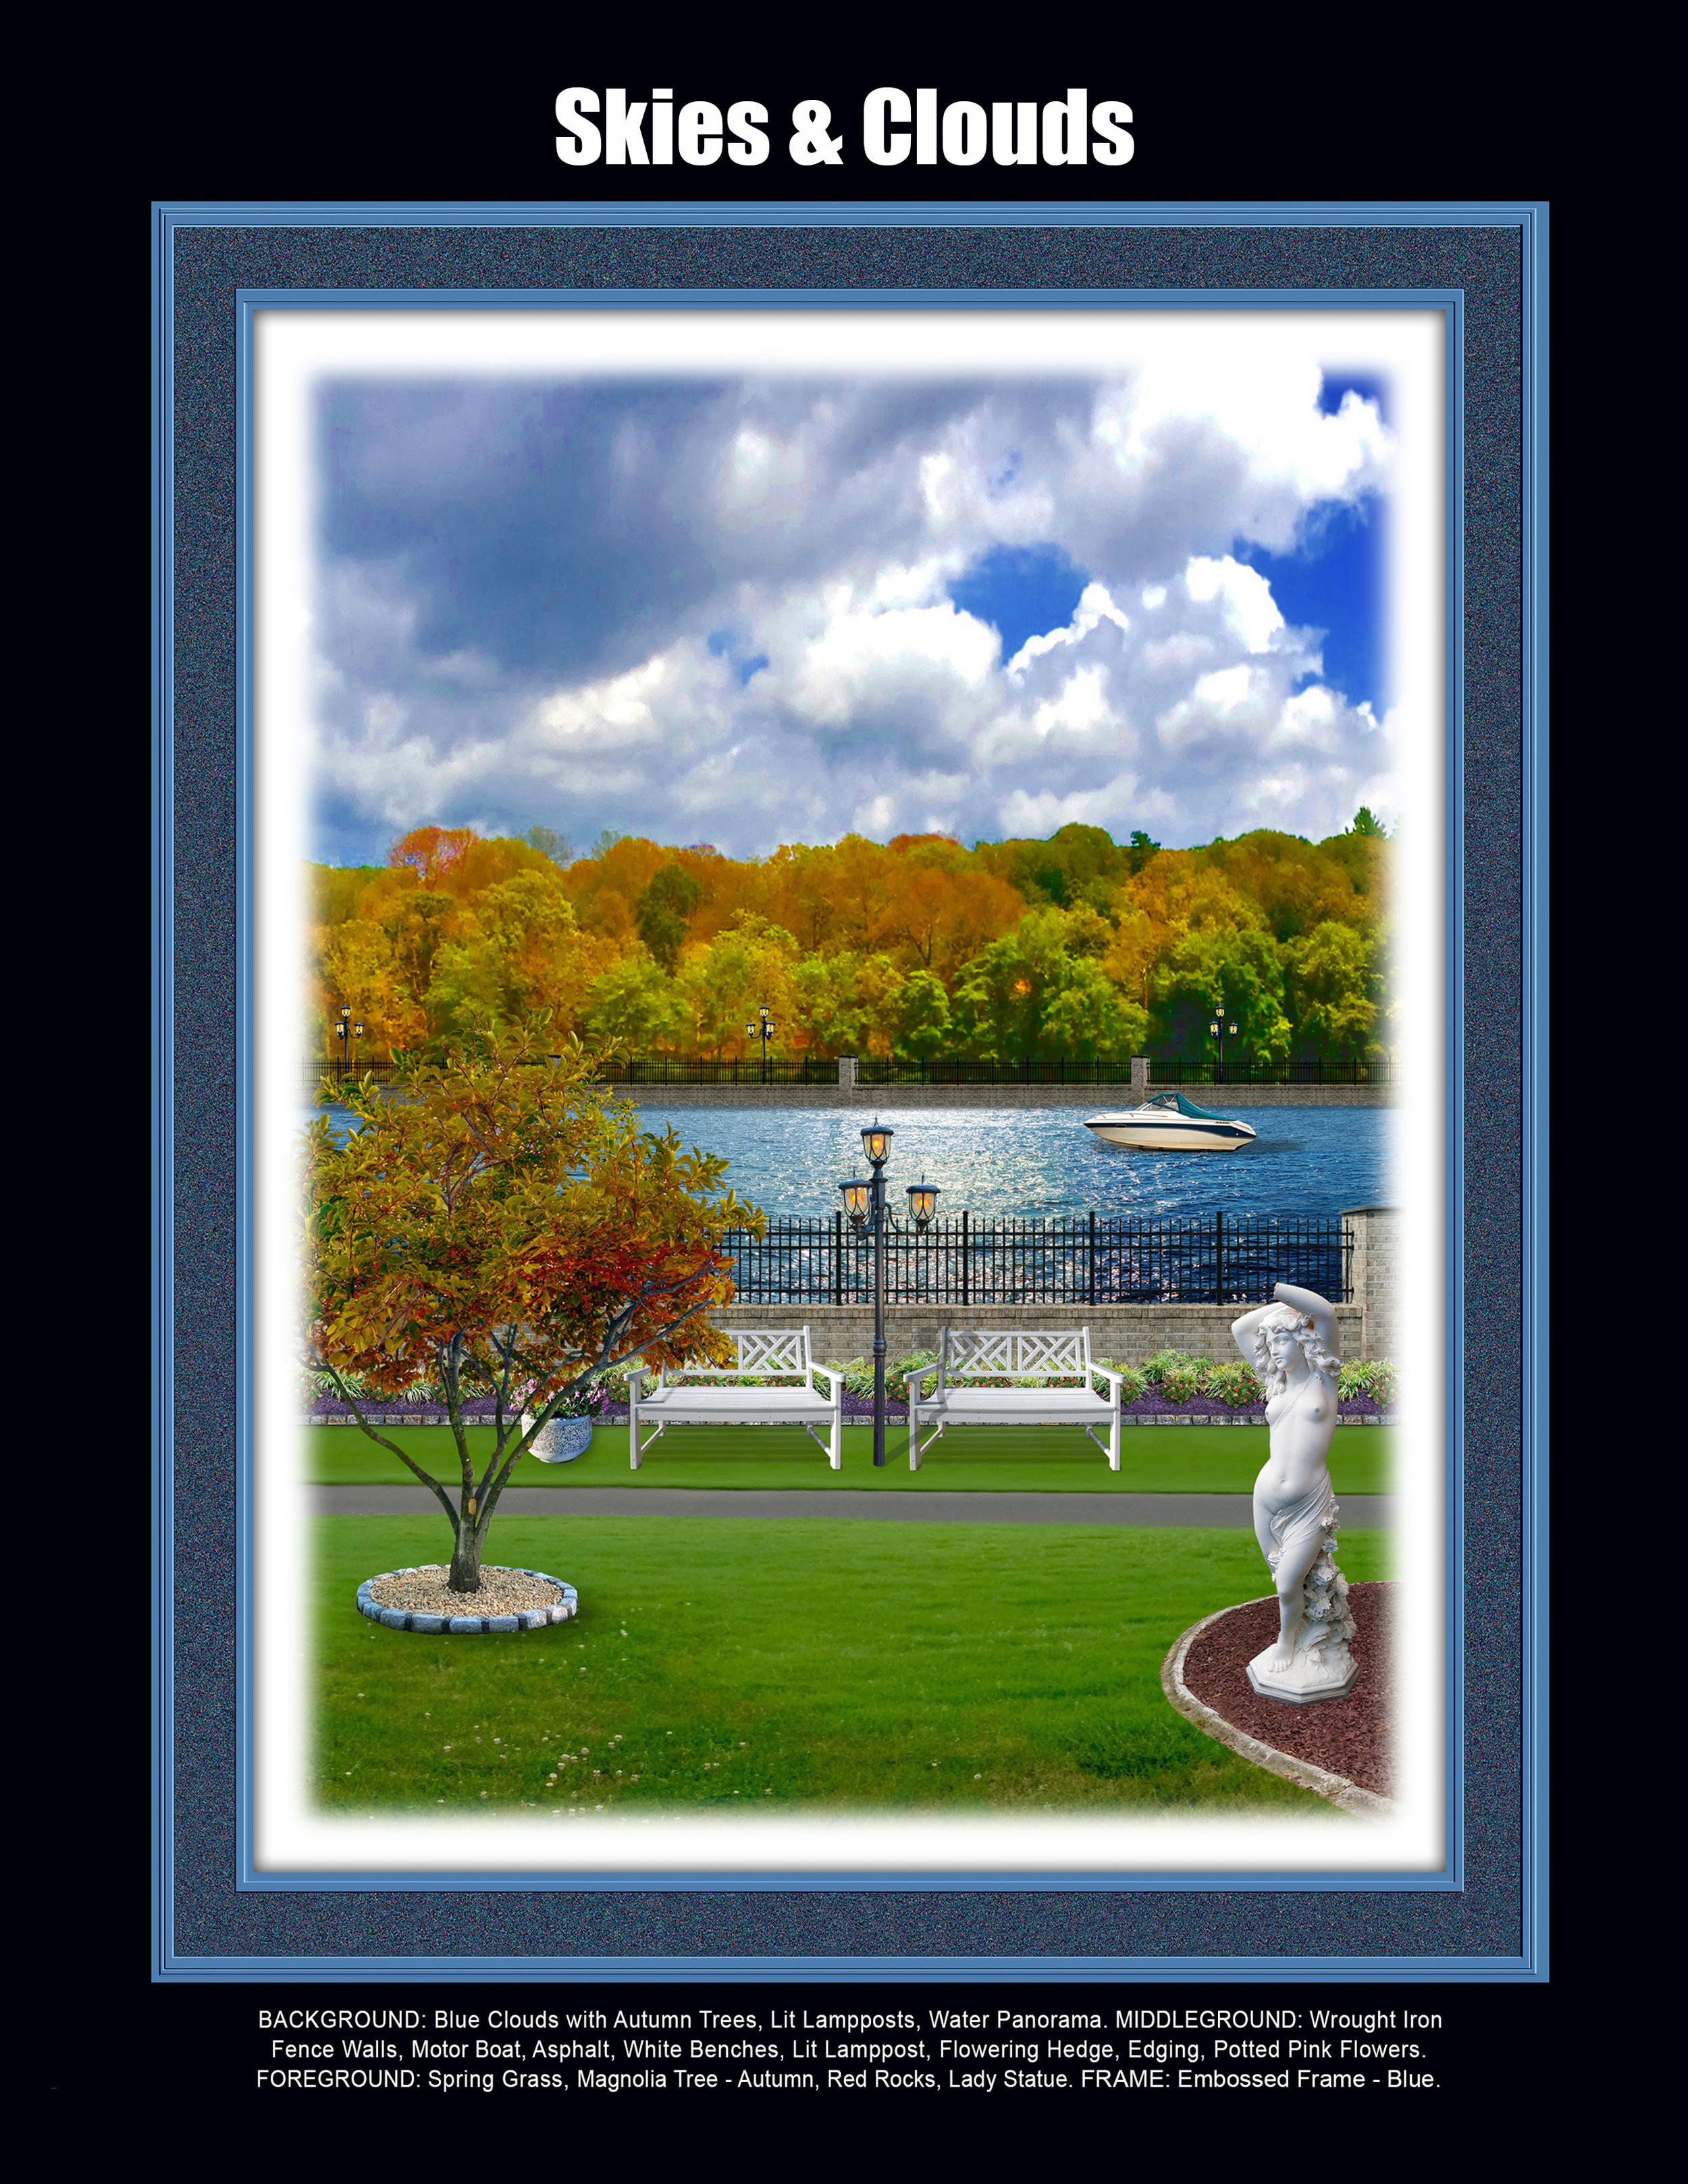
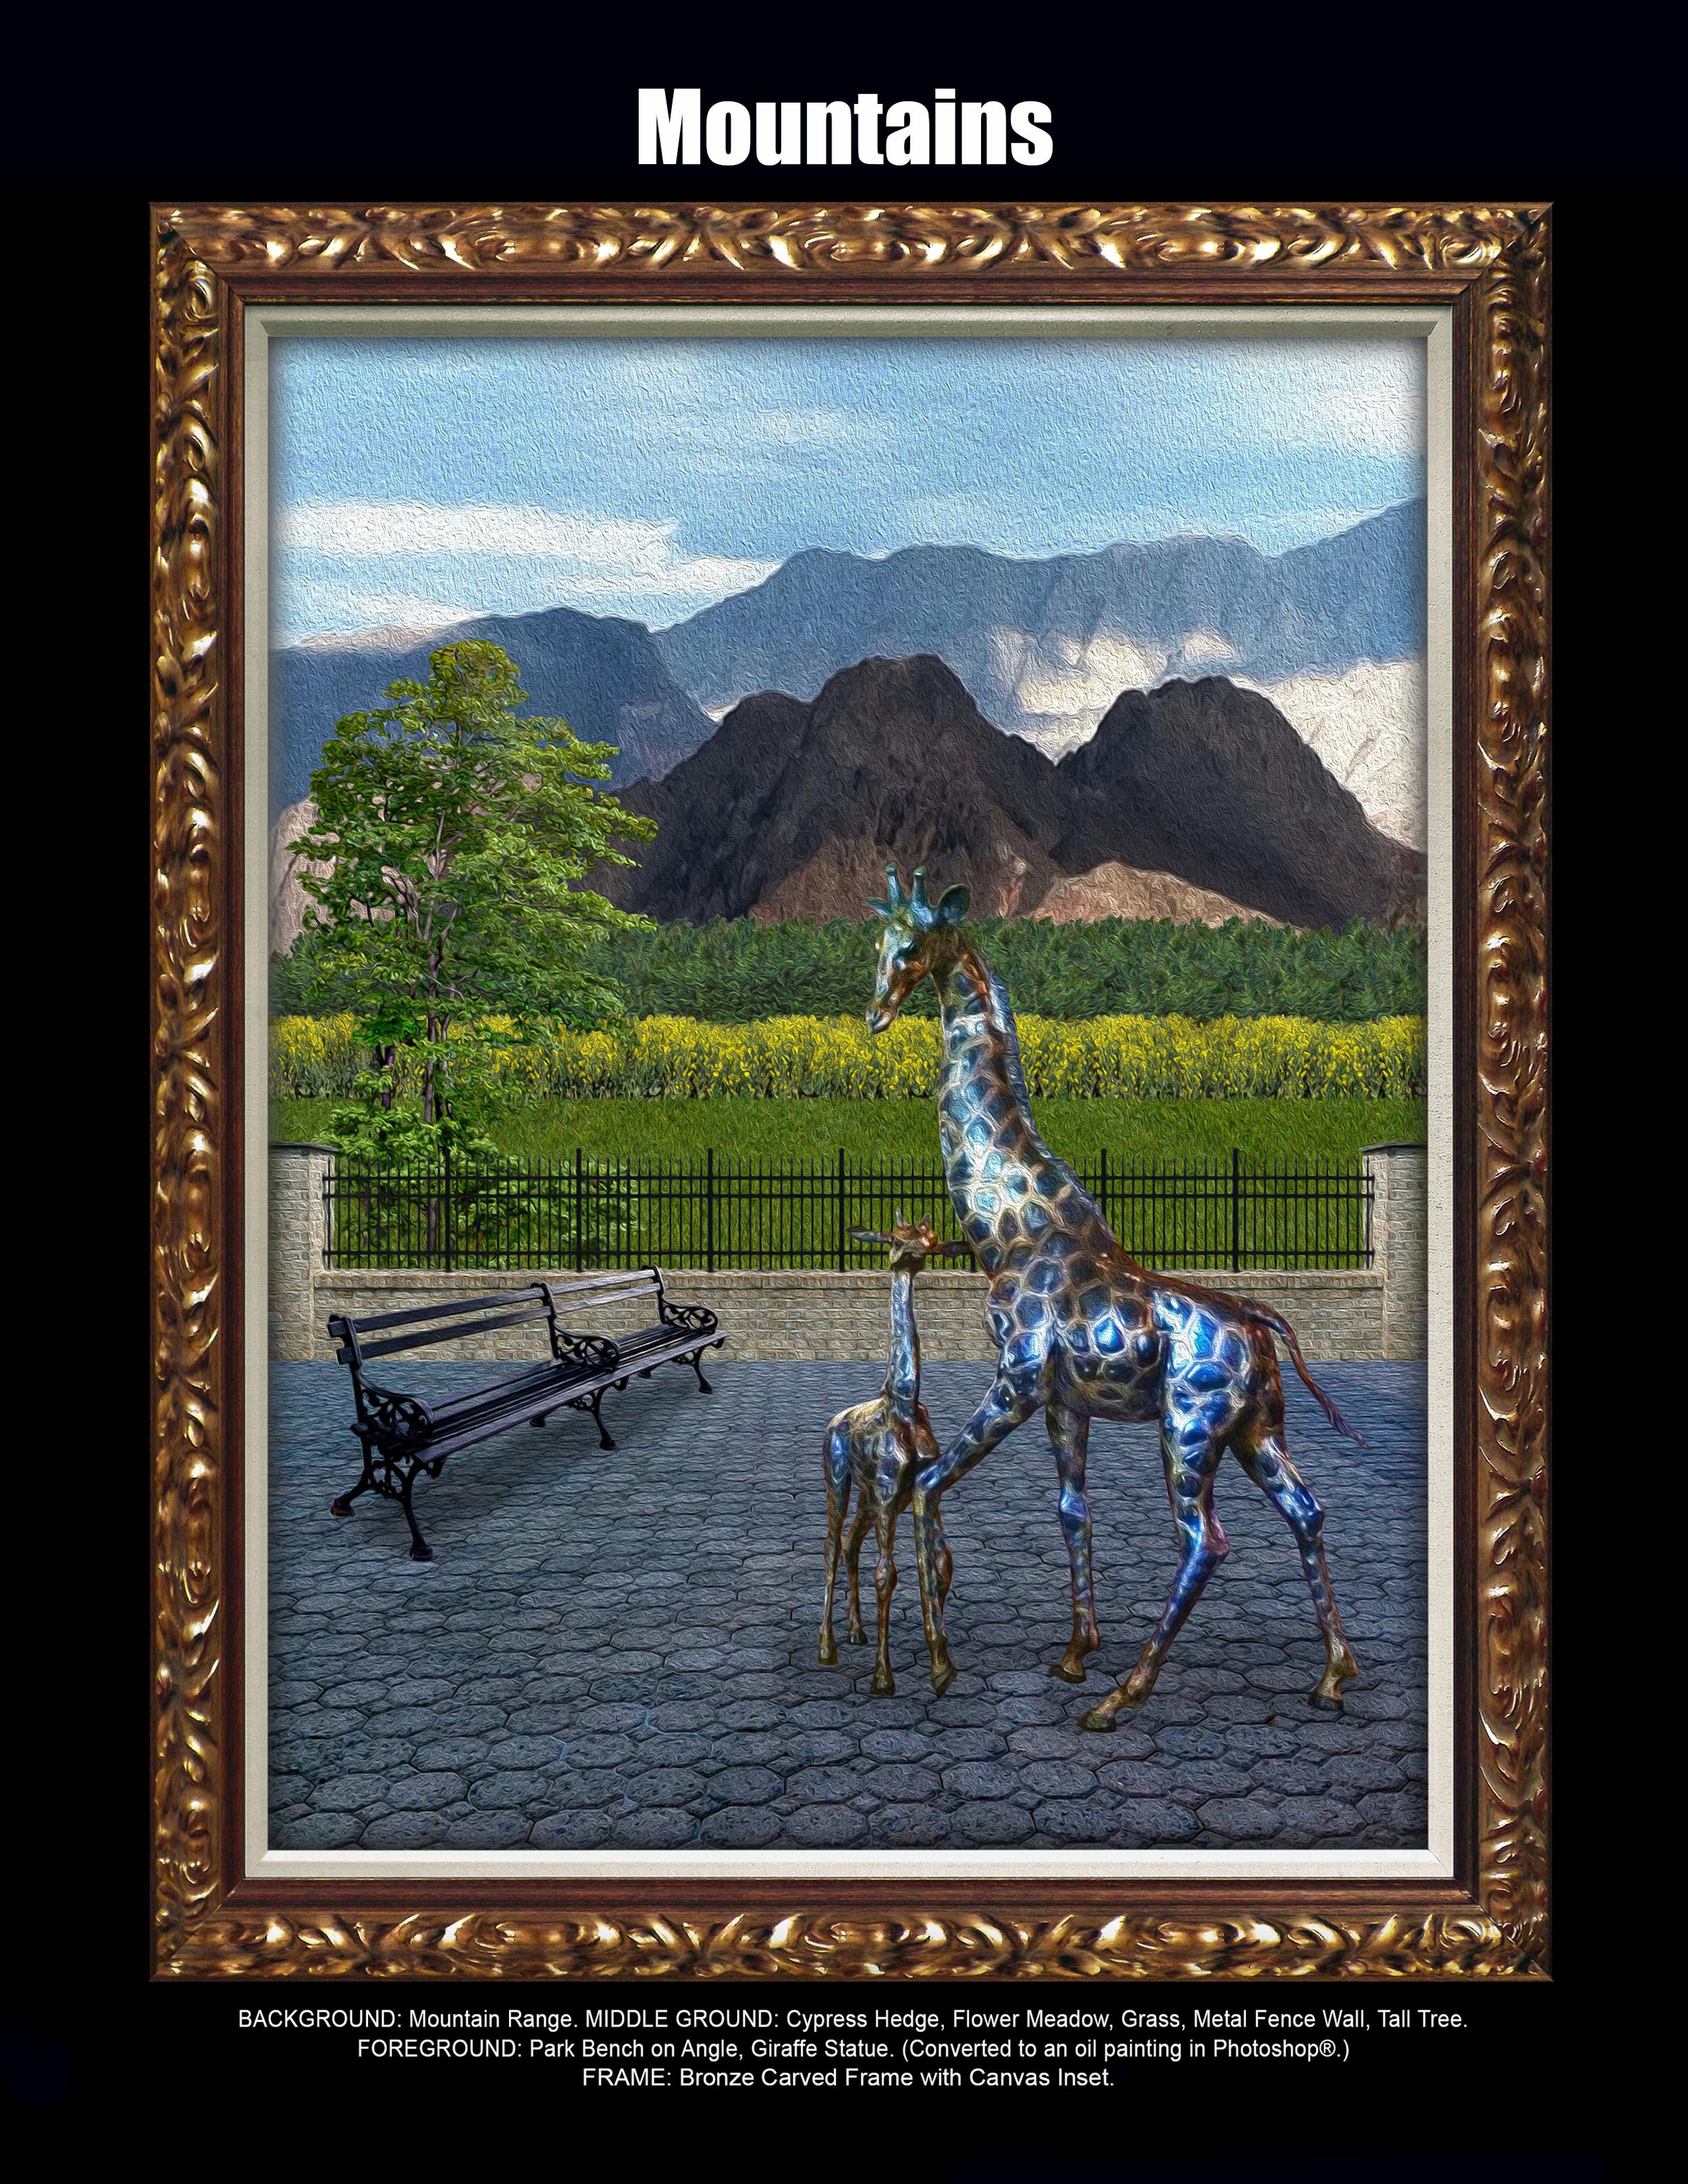
The Photo ImageClips Gallery in combination with the Mega Digital Picture Frames Collection allows you to create stunning digitally framed images. Similar ImageClips can be used to create altogether different scenes.


STEP 1:
Decide on your theme and select suitable background images.
If you wanted your theme to be a water scene, for example, you would choose from Oceans, Rivers, Lakes, Ponds, Waterfalls, or Harbors along with a suitable sky image. In this case, the artist has chosen her theme to be a serene place to relax under an Arbor. Select your background, foreground, and any middleground images.

STEP 2:
Select your focal point, in this case the Arbor, its color, and components.
Once you place your focal point layer, you will see your photo art start to take form. Try your Arbor with and without curtains, tiling, a platform, or a walkway, for example.

STEP 3:
Explore the different categories, try out several images, and make your selections.
The various photo art compilations below depicts what your final art might look like using the additional Photo ImageClips below.

STEP 4:
Complete your image with a stunning frame from the Mega Digital Picture Frames Collection.

SEE BELOW FOR FINAL ARBOR CREATIONS.